4-Channel 5V SPDT Power Relay Module — 250V/10A — Arduino, ESP32, Raspberry Pi Compatible
4-Channel 5V SPDT Power Relay Module — 250V/10A — Arduino, ESP32, Raspberry Pi Compatible
Couldn't load pickup availability
📋 Overview
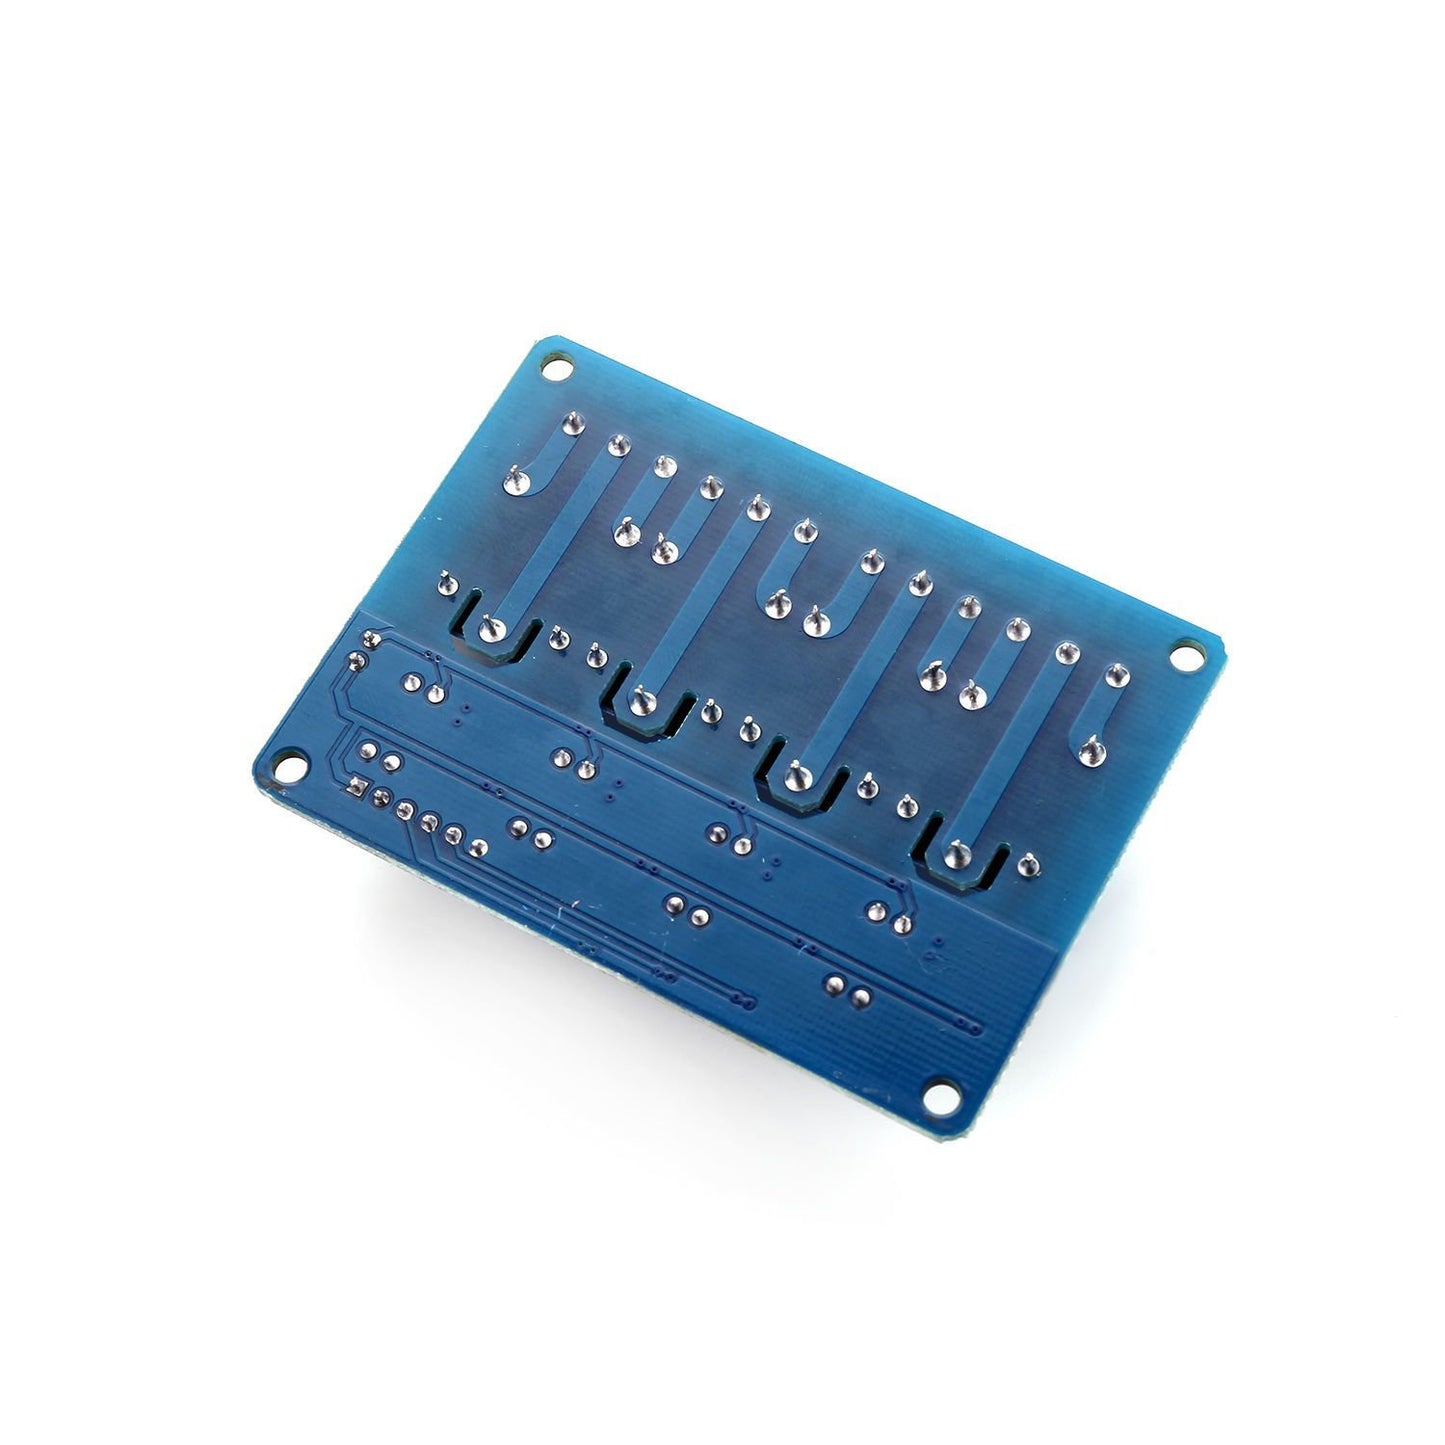
This 4-channel 5V relay module lets you control up to four high-power AC or DC loads directly from a microcontroller like an Arduino, Raspberry Pi, or ESP32. Each channel uses a Single-Pole Double-Throw (SPDT) relay rated for 250V AC at 10A, giving you access to both Normally Open (NO) and Normally Closed (NC) contacts for flexible wiring options.
This is the direct-drive model without optocoupler isolation. It features a simple 6-pin input header (GND, VCC, IN1–IN4) and uses active low logic — pull a control pin LOW to energize the relay. Each channel has a red status LED that lights up when its relay is activated. Just connect your microcontroller's digital output pins and you're ready to switch loads.
⭐ Key Features
- 4 Independent Channels — Control up to four separate high-power devices from a single module
- SPDT Relay Contacts — Each relay provides COM, NO (Normally Open), and NC (Normally Closed) terminals
- 250V AC / 10A Switching — Each channel handles up to 250V AC at 10A, 125V AC at 15A, or 30V DC at 10A
- Active Low Inputs — Pull the input pin LOW to activate the relay, compatible with most microcontrollers
- 5V Control Logic — Powered and controlled directly from a 5V microcontroller — no external relay power supply needed
- LED Status Indicators — Each channel has a red LED that illuminates when the relay is activated
- Simple 6-Pin Interface — Single input header with GND, VCC, IN1, IN2, IN3, IN4 for easy wiring
- Screw Terminals — Secure, tool-tightened connections for high-power load wiring
- Mounting Holes — Four 3.1mm mounting holes for secure installation
📊 Specifications
| Parameter | Value |
|---|---|
| Number of Channels | 4 |
| Relay Type | SPDT (Single-Pole Double-Throw) |
| Control Signal | Active Low (LOW = relay ON) |
| Control Voltage | 5V DC |
| Control Current | 50–60 mA per channel |
| Max Switching Voltage (AC) | 250V AC |
| Max Switching Voltage (DC) | 30V DC |
| Max Switching Current | 10A (250V AC / 30V DC), 15A (125V AC) |
| Relay Contacts | COM, NO (Normally Open), NC (Normally Closed) |
| Optocoupler Isolation | No (direct transistor drive) |
| Status Indicators | 4 × Red LEDs (one per channel) |
| Input Connector | 6-pin header (GND, VCC, IN1, IN2, IN3, IN4) |
| Mounting Holes | 4 × 3.1mm diameter |
| Board Dimensions | Approx. 76 × 56 × 17 mm (3.0 x 2.2 x 0.67 inches) L × W × H |
| Weight | Approx. 60g |
📌 Pinout
Input Header (6-Pin)
| Pin | Label | Description |
|---|---|---|
| 1 | GND | Ground — connect to your microcontroller's GND |
| 2 | VCC | 5V power input — powers the relay coils and control circuitry |
| 3 | IN1 | Control input for Relay 1 (active low) |
| 4 | IN2 | Control input for Relay 2 (active low) |
| 5 | IN3 | Control input for Relay 3 (active low) |
| 6 | IN4 | Control input for Relay 4 (active low) |
Output Terminals (Per Relay Channel)
| Terminal | Label | Description |
|---|---|---|
| 1 | COM | Common — connect your power source or load here |
| 2 | NO | Normally Open — disconnected when relay is OFF, connected when ON |
| 3 | NC | Normally Closed — connected when relay is OFF, disconnected when ON |
🔧 How It Works
This module uses active low logic:
- Input pin HIGH (5V or floating): Relay is OFF — the NO contact is open (disconnected from COM)
- Input pin LOW (0V / GND): Relay is ON — the NO contact closes (connects to COM), and the channel's red LED lights up
Each relay is a Single-Pole Double-Throw (SPDT) switch. When the relay is OFF, COM connects to NC. When the relay is ON, COM switches to NO. You'll hear an audible "click" when the relay switches — this is completely normal.
🔌 Wiring to Arduino
| Relay Module Pin | Arduino Pin |
|---|---|
| GND | GND |
| VCC | 5V |
| IN1 | Digital Pin 7 |
| IN2 | Digital Pin 6 |
| IN3 | Digital Pin 5 |
| IN4 | Digital Pin 4 |
To connect a load to a relay channel, wire one side of your power source to the COM terminal, run a wire from the NO terminal to your load, and complete the circuit from the load back to the power source.
🔋 Power
This module is powered entirely from the 5V VCC pin. There is no separate relay power supply pin or jumper on this model.
| Condition | Current Draw |
|---|---|
| All relays OFF | ~10 mA |
| 1 relay ON | ~60–70 mA |
| 2 relays ON | ~120–130 mA |
| 3 relays ON | ~180–190 mA |
| 4 relays ON | ~240–250 mA |
If you experience unreliable switching or microcontroller resets, use an external 5V power supply (500 mA+) for the module and share a common GND with your microcontroller.
📦 What's in the Box
- 1x 5V 4-Channel SPDT Power Relay Module
Jumper wires, microcontroller, and mounting hardware are not included.
🛒 What You'll Need
- Microcontroller — Arduino Uno, Mega, Nano, ESP32, Raspberry Pi, or similar 5V-compatible board
- Jumper wires — Female-to-male or male-to-male depending on your setup
- 5V power supply — Recommended if running all four relays simultaneously (500 mA or more)
- Load and power source — The AC or DC device you want to switch, along with its power source
🔌 Compatible With
- Arduino Uno, Mega, Nano, Leonardo, and other 5V Arduino boards
- Raspberry Pi (via 5V pin and GPIO — Pi GPIO is 3.3V, may need level shifting)
- ESP32 / ESP8266 (3.3V logic — test reliability or use a level shifter)
- STM32, PIC, AVR, ARM, MSP430, and other 5V-compatible microcontrollers
🎯 Typical Applications
- Home Automation — Control lights, fans, heaters, and appliances from a microcontroller or IoT platform
- Irrigation Systems — Switch solenoid valves for automated watering schedules
- Industrial Control — Activate motors, pumps, or solenoids in automation projects
- IoT Projects — Combine with Wi-Fi modules (ESP8266/ESP32) for remote appliance control
- Robotics — Control high-power motors or actuators from a low-power controller
- Automotive — Switch 12V accessories like lights, horns, or cooling fans
- Security Systems — Control door locks, alarms, or sirens
⚠️ Important Notes
- No optocoupler isolation: The control inputs connect directly to the relay driver transistors without galvanic isolation. Electrical noise from relay coils or high-voltage loads could potentially affect your microcontroller. For applications where isolation is critical, consider the optocoupler-isolated version.
- Active Low operation: LOW = ON, HIGH = OFF. If your relays seem to work "backwards," check that you're using the correct logic in your code.
- Not suitable for PWM or rapid switching: Mechanical relays have a limited lifespan (~100,000 cycles) and ~10ms switching speed. For high-speed switching, use solid-state relays or MOSFETs.
- Maximum ratings are absolute maximums: For long-term reliability, operate at no more than 80% of rated current (8A at 250V AC).
- 3.3V microcontrollers: This module is designed for 5V logic. Reliable operation at 3.3V is not guaranteed — test thoroughly or use a logic level shifter.
- High-voltage safety: This module can switch mains-level AC voltages. Always disconnect power before making or changing high-voltage connections. If you are not experienced with high-voltage wiring, consult a qualified electrician.
📄 Documentation & Resources
- 📘 4-Channel 5V Relay Module User Guide — complete setup guide with wiring diagrams, sample code, and troubleshooting
- 🔗 All Power & Switching Component User Guides
Share