

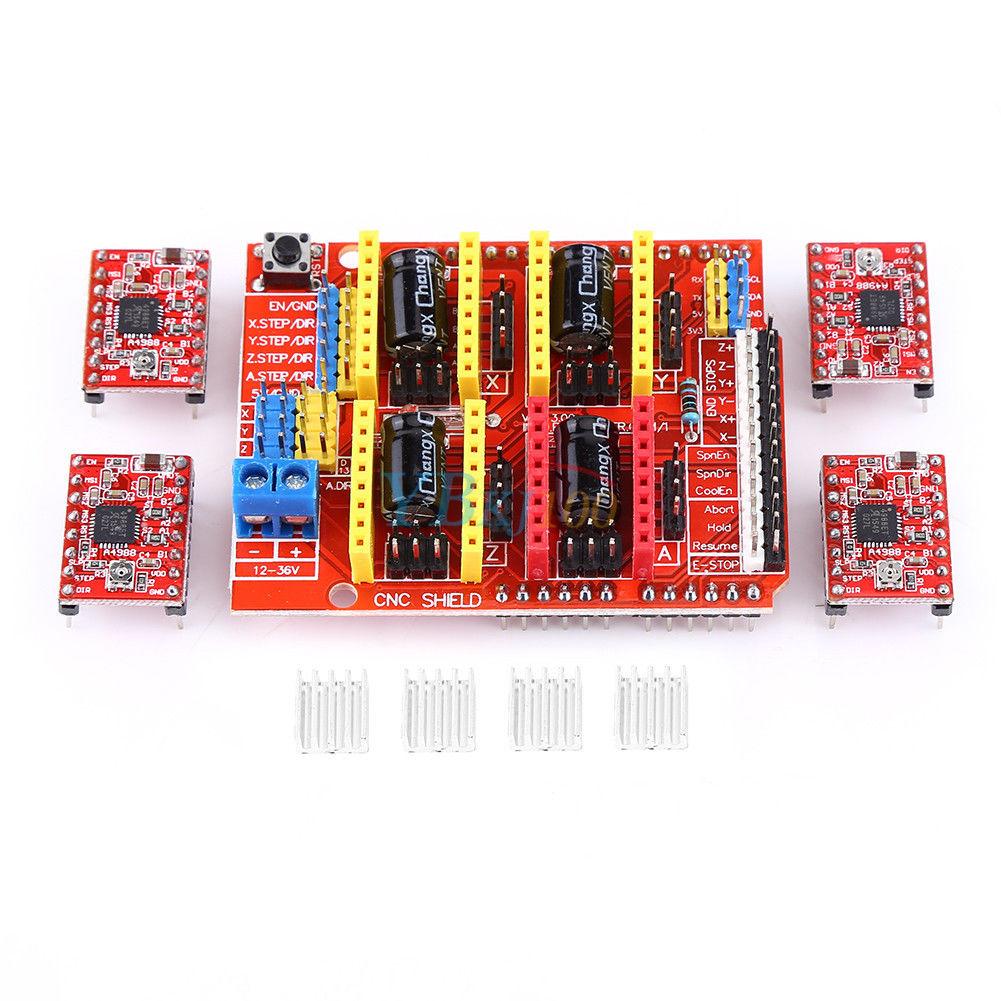
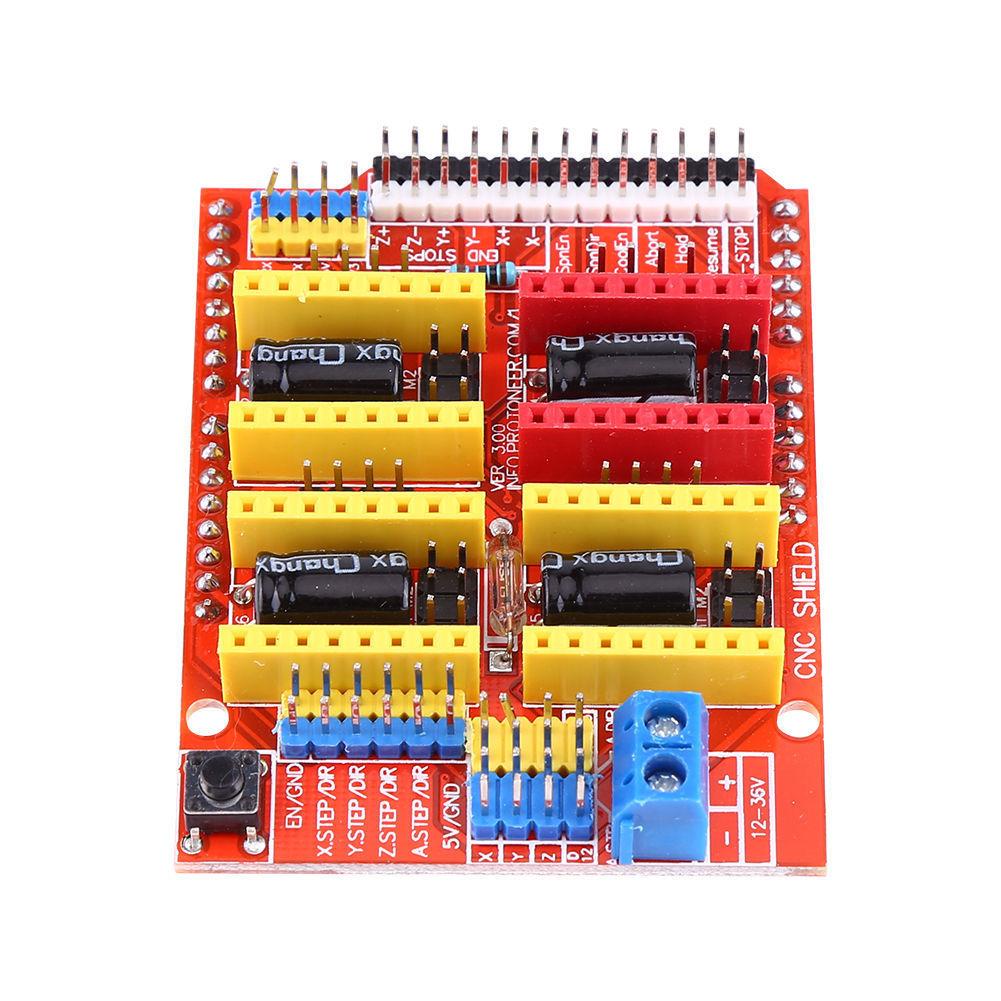
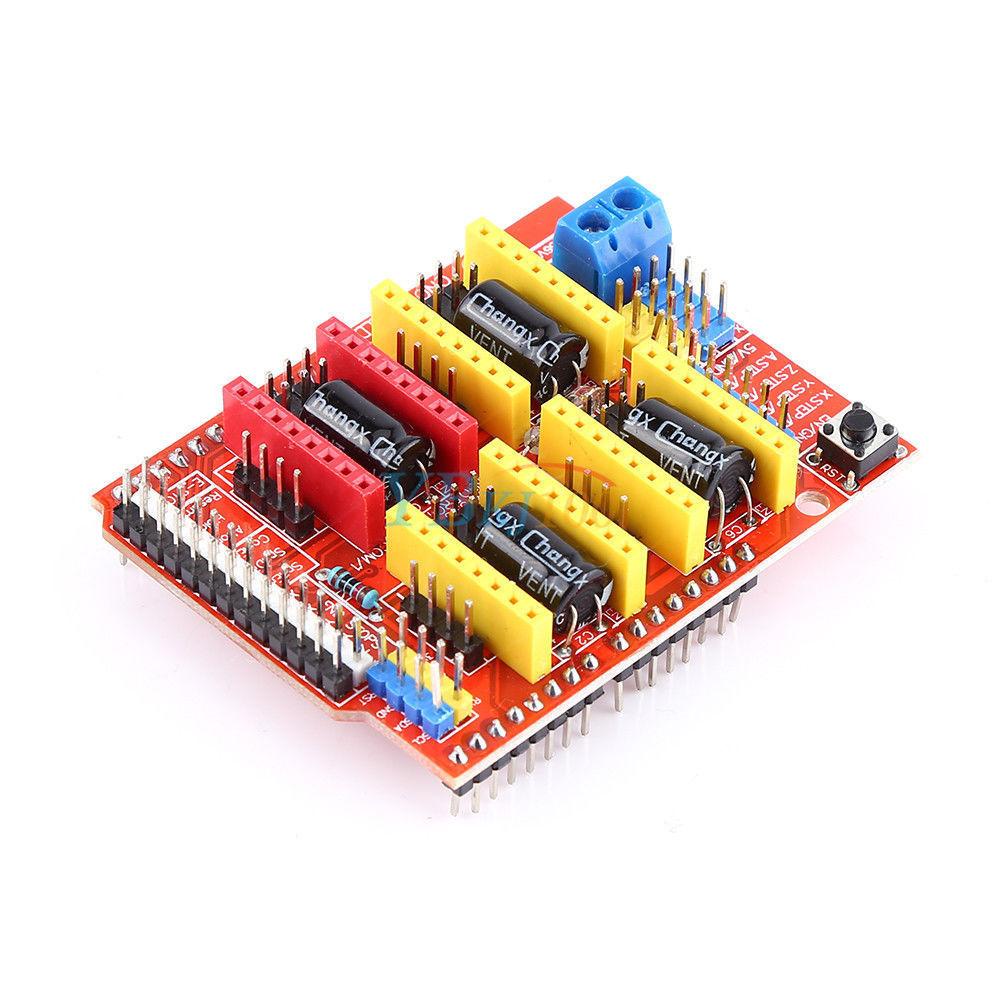
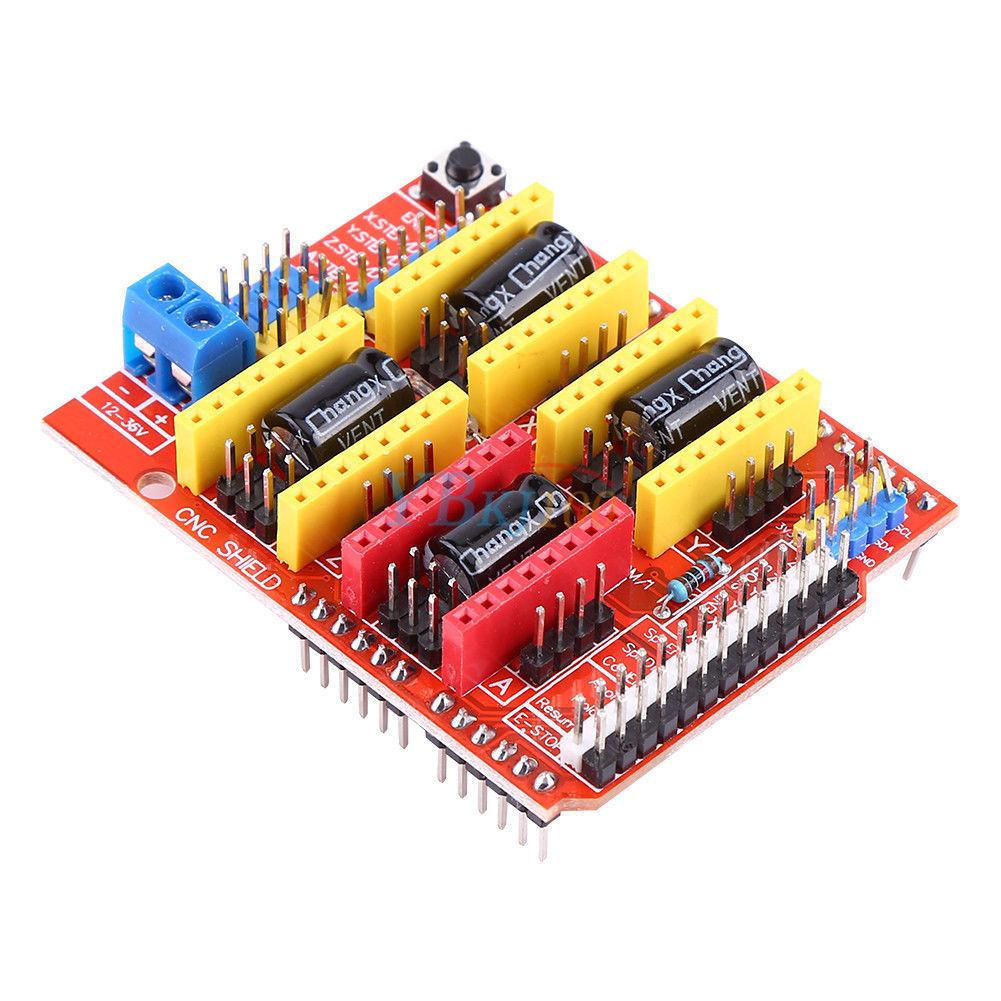
CNC Shield V3 Kit with 4 A4988 Drivers for Arduino UNO, UNO R4 & MEGA2560 - 4-Axis Stepper Controller
CNC Shield V3 Kit with 4 A4988 Drivers for Arduino UNO, UNO R4 & MEGA2560 - 4-Axis Stepper Controller
Couldn't load pickup availability
Product Description
Complete Motion Control Solution for CNC, 3D Printing & Robotics
Transform your Arduino UNO, MEGA2560, or UNO R4 into a powerful 4-axis stepper motor controller with this complete CNC Shield V3 kit. Including four A4988 stepper motor drivers and heat sinks, this shield is the industry-standard solution for DIY CNC routers, laser engravers, 3D printers, and multi-axis robotics projects. Compatible with GRBL firmware on the Arduino UNO R3 and MEGA2560, it converts G-code commands into precise stepping signals for professional-grade motion control. On the Arduino UNO R4, run your own sketches with the MobaTools library.
⚠️ Using an Arduino UNO R4? This shield fits the UNO R4 Minima and UNO R4 WiFi, but GRBL does not run on the R4's Renesas RA4M1 processor, and the AccelStepper library is not recommended on it. Use the MobaTools library for custom sketches, or choose an UNO R3 or MEGA2560 if you want to run G-code with GRBL. See our User Guide for more details.
Key Technical Features
🔧 Plug-and-Play 4-Axis Control
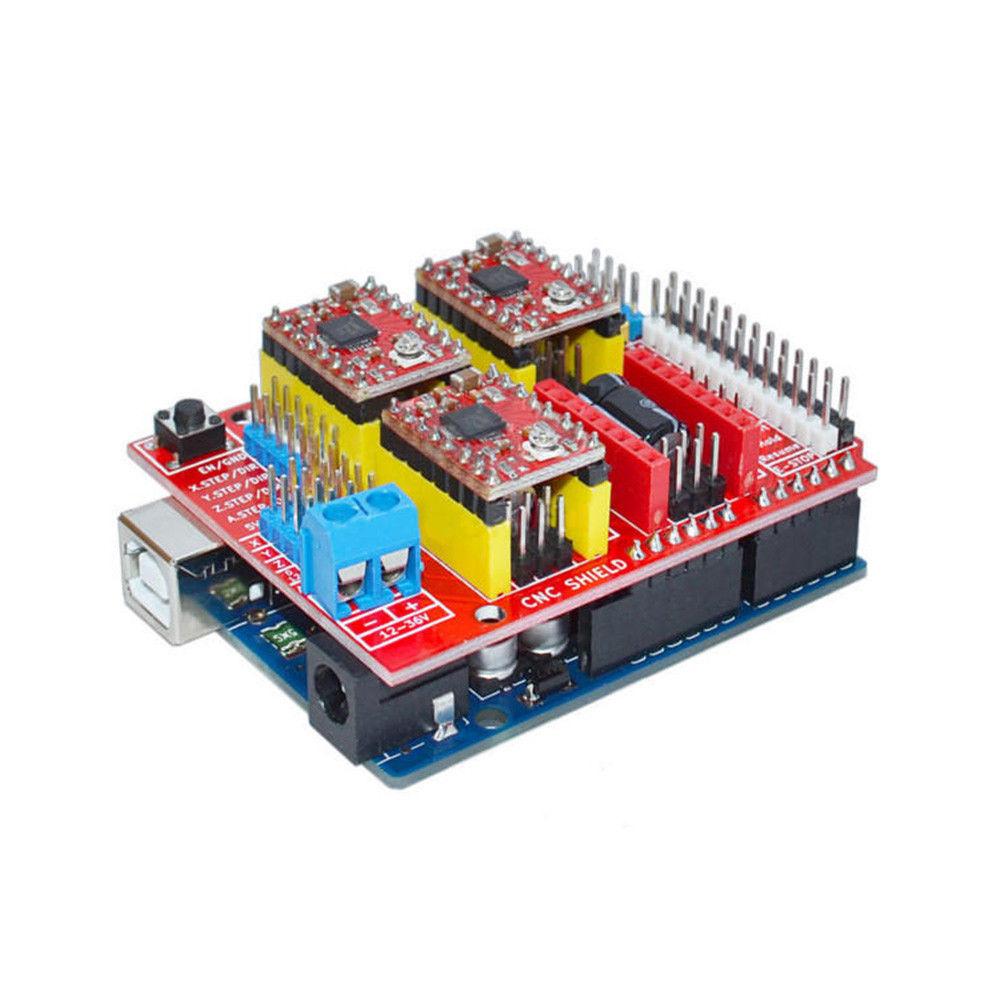
- 4× independent stepper motor channels (X, Y, Z, A/Clone)
- Removable driver sockets accept A4988 or DRV8825 drivers
- Color-coded connectors (Yellow/Red/Blue) for easy wiring identification
- Onboard Enable/Reset button for quick motor control
- Limit switch inputs for each axis (6 total) with pull-up resistors
⚡ Flexible Power Architecture
- Motor power input: 12-36V DC via screw terminals
- Logic power: Derived from Arduino 5V rail (no separate supply needed)
- Separate motor/logic grounds prevent noise coupling
- Polarity protection on power input
- Compatible with standard ATX/bench power supplies
🎛️ A4988 Stepper Drivers (4× Included)
- Current rating: 1A continuous, 2A peak (with cooling)
- Voltage range: 8-35V (max 35V for A4988, 45V for DRV8825)
- Microstepping: Full, 1/2, 1/4, 1/8, 1/16 step resolution
- Built-in protection: Thermal shutdown, overcurrent, short circuit, ground fault
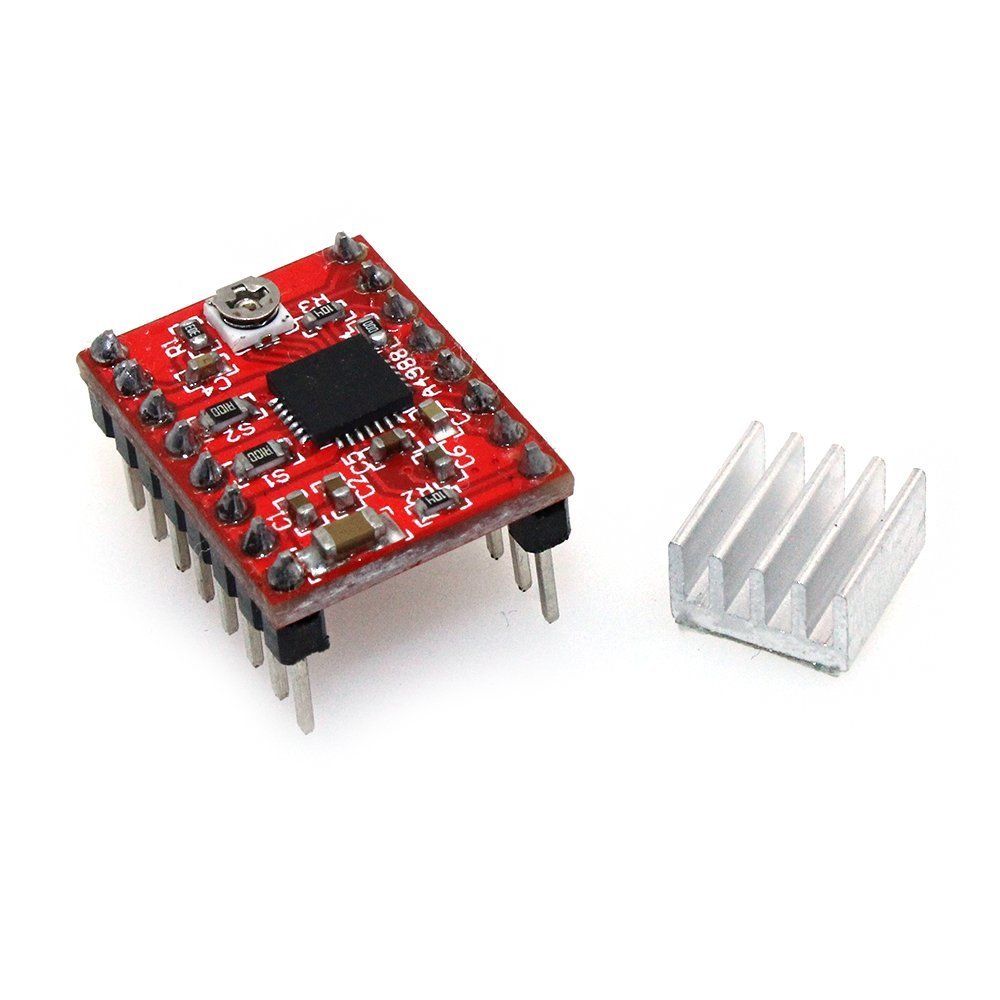
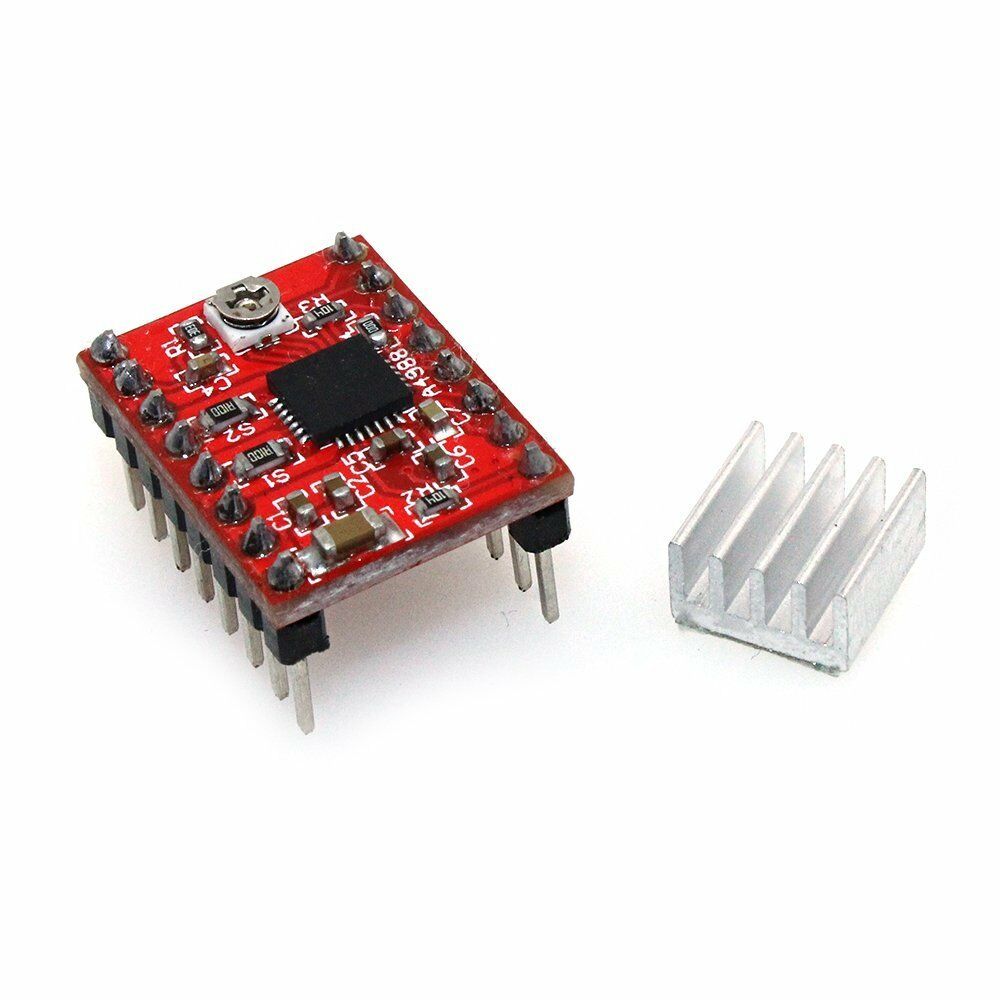
- Adjustable current limiting via onboard potentiometer
- Heat sinks included for thermal management
📡 GRBL Firmware Compatible (UNO R3 / MEGA2560)
- Pre-configured for GRBL 0.8+ (also works with GRBL 1.1)
- Converts G-code to step/direction signals in real-time
- Compatible with popular CAM software: Fusion 360, Easel, bCNC, Universal G-code Sender
- Serial communication via Arduino USB (no additional interface needed)
- Spindle/laser PWM control via dedicated pin
💻 Arduino UNO R4 Support (Custom Sketches)
- Fits the UNO R4 Minima and UNO R4 WiFi — same 5V logic, same UNO header layout, same pin mapping
- Works with the MobaTools library — acceleration ramps, up to 6 steppers, and synchronized multi-axis moves
- Non-blocking motion — your sketch keeps running while the motors move
- GRBL is UNO R3 / MEGA2560 only — it does not run on the UNO R4
- Four example sketches in the User Guide: single axis, three axes, synchronized X/Y, and limit switch homing
🔌 Comprehensive I/O
- Spindle control: PWM output + direction + enable
- Coolant control: Flood + mist outputs
- Abort/Hold/Resume buttons with debouncing
- Endstop inputs: Min/max for X, Y, Z axes
- Cloning jumpers: Duplicate X/Y/Z to A-axis for dual-motor setups
Technical Specifications
CNC Shield V3
| Parameter | Value |
|---|---|
| Version | V3.0 |
| Compatibility | Arduino UNO R3, MEGA2560, UNO R4 Minima / WiFi (UNO R4: custom sketches only, no GRBL) |
| Firmware | GRBL 0.8, 0.9, 1.1 (UNO R3 / MEGA2560 only); MobaTools sketches (UNO R4) |
| Dimensions | Approx. 68 × 53 × 18 mm (2.68 x 2.09 x 0.71 inches) L × W × H |
| Motor Channels | 4 (X, Y, Z, A) |
| Driver Sockets | 4× removable (A4988/DRV8825) |
| Power Input | 12-36V DC (screw terminal) |
| Limit Switches | 6 inputs (min/max per axis) |
| Spindle Control | PWM + DIR + EN |
A4988 Stepper Drivers (4× Included)
| Parameter | Value |
|---|---|
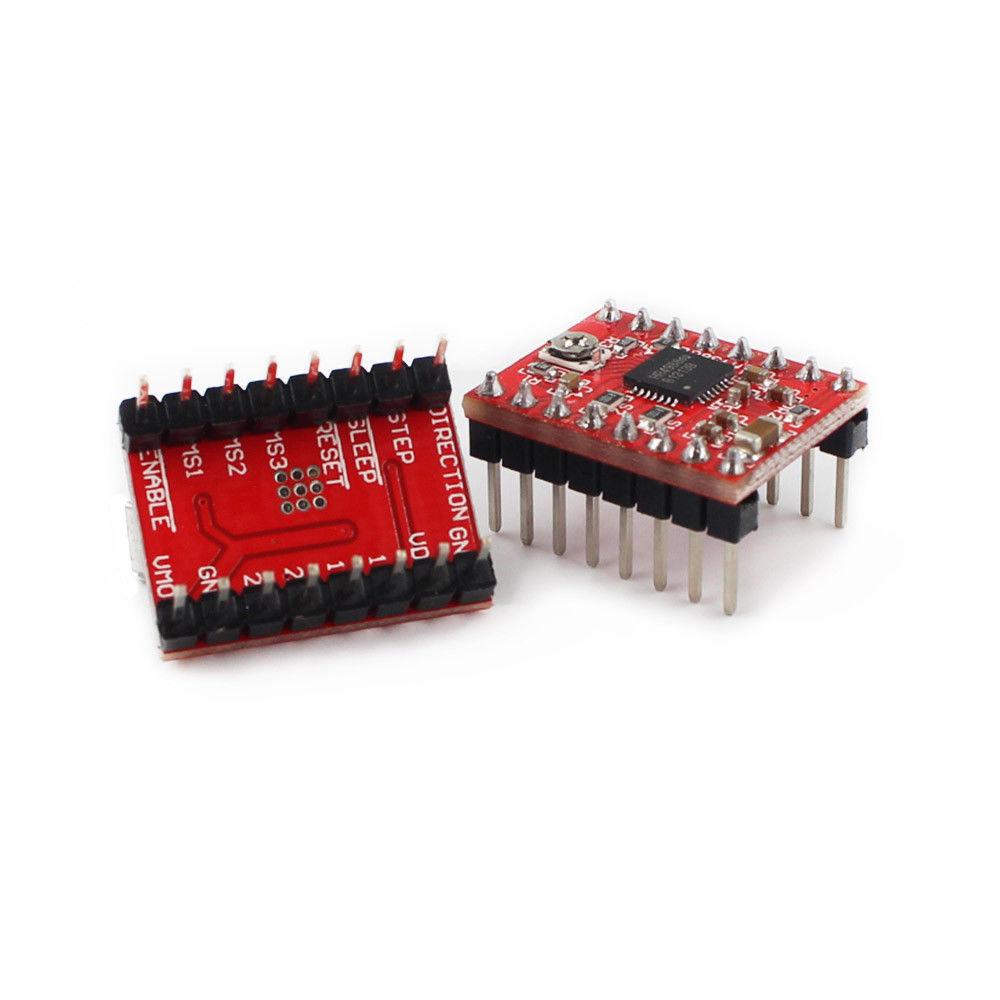
| IC | Allegro A4988 |
| Dimensions | Approx. 20 × 15 mm (0.79 x 0.59 inches) L × W |
| Operating Voltage | 8-35V DC |
| Continuous Current | 1A per phase |
| Peak Current | 2A per phase (with cooling) |
| Logic Voltage | 3-5.5V |
| Microstepping | Full, 1/2, 1/4, 1/8, 1/16 |
| Protection | Thermal, overcurrent, short, ground fault |
What's Included
- 1× CNC Shield V3 expansion board (red PCB)
- 4× A4988 stepper motor drivers
- 4× Aluminum heat sinks for A4988 drivers
- Complete kit—ready to mount on Arduino
Not Included:
- Arduino UNO, MEGA2560, or UNO R4 board
- Stepper motors
- Power supply (12-36V DC)
- Limit switches or wiring
Perfect For
✅ DIY CNC Routers – 3-axis milling machines for wood, plastic, aluminum
✅ Laser Engravers – CO₂ or diode laser cutters with X/Y gantry control
✅ 3D Printers – RepRap, Prusa-style cartesian or CoreXY builds
✅ Pen Plotters – Automated drawing machines and vinyl cutters
✅ Camera Sliders – Multi-axis motion control for time-lapse photography
✅ Pick-and-Place Machines – SMT assembly automation
✅ Robotic Arms – 4-DOF articulated manipulators
✅ Educational Projects – Learn G-code, motion control, and embedded systems
✅ Custom Motion Projects – Run your own motion code on an Arduino UNO R4 with the MobaTools library
GRBL Firmware Overview
GRBL is the industry-standard open-source motion control firmware for Arduino-based CNC systems. It interprets G-code commands (the universal language of CNC) and generates precise step/direction pulses for stepper motors.
Key Features:
- Real-time motion planning with look-ahead acceleration
- Arc interpolation for smooth curved paths
- Feed rate override and spindle speed control
- Homing cycles with limit switch detection
- Soft limits to prevent crashes
- Configurable via serial commands (no recompilation needed)
Getting Started:
- Flash GRBL firmware to an Arduino UNO R3 or MEGA2560 via Arduino IDE
- Mount CNC Shield V3 on Arduino
- Connect stepper motors and power supply
- Configure GRBL settings via serial terminal (baud rate, steps/mm, acceleration)
- Send G-code from CAM software or manual commands
Using the CNC Shield with an Arduino UNO R4
The CNC Shield V3 plugs onto the newer Arduino UNO R4 Minima and UNO R4 WiFi, including our UNO R4-Compatible WiFi Board. The R4 uses a different processor (a 32-bit Renesas RA4M1 instead of the 8-bit ATmega328P), so some popular CNC software behaves differently:
| Software | On the UNO R4 |
|---|---|
| GRBL | Does not work (UNO R3 / MEGA2560 only) |
| AccelStepper | Not recommended — compiles, but fails Arduino's hardware testing |
| MobaTools | Works — officially supports the UNO R4 Minima and WiFi |
Getting Started on the UNO R4:
- Install the UNO R4 board package in the Arduino IDE
- Install the MobaTools library (Sketch → Include Library → Manage Libraries)
- Mount the shield, set the current limit (VREF) on each driver, and insert the drivers with the potentiometer toward the power terminals
- Connect your stepper motors and 12-36V power supply
- Set the microstepping jumpers (M0 + M1 = 1/8 step, or 1,600 steps per turn for a 1.8° motor)
- Upload one of the example sketches from the User Guide
MobaTools is a motion-control library, not a G-code interpreter, so G-code sender programs such as Universal G-code Sender, bCNC, and Easel require an UNO R3 or MEGA2560 running GRBL.
See our User Guide for more details and example sketches.
Common Applications & Motor Configurations
3-Axis CNC Router:
- X-axis: NEMA 17 (1.5A, 200 steps/rev)
- Y-axis: NEMA 17 (1.5A, 200 steps/rev)
- Z-axis: NEMA 17 (1.0A, 200 steps/rev)
- A-axis: Unused or cloned to Y for dual-motor gantry
Laser Engraver:
- X-axis: NEMA 17 (1.0A, 200 steps/rev)
- Y-axis: NEMA 17 (1.0A, 200 steps/rev)
- Z-axis: Optional focus control
- Spindle output: PWM to laser driver (0-5V or 0-12V)
3D Printer (Cartesian):
- X-axis: NEMA 17 (1.2A, 200 steps/rev)
- Y-axis: NEMA 17 (1.2A, 200 steps/rev)
- Z-axis: NEMA 17 (1.0A, 200 steps/rev)
- A-axis: Extruder motor (NEMA 17, 1.0A)
Upgrade Path: A4988 vs. DRV8825
This shield accepts both driver types—simply swap them out:
| Feature | A4988 (Included) | DRV8825 (Upgrade) |
|---|---|---|
| Max Voltage | 35V | 45V |
| Max Current | 2A | 2.5A |
| Microstepping | Up to 1/16 | Up to 1/32 |
| Noise Level | Moderate | Lower |
| Heat Generation | Higher | Lower |
| Cost | Lower | Higher |
Recommendation: Start with included A4988 drivers. Upgrade to DRV8825 if you need:
- Higher voltage motors (36-45V)
- Smoother motion (1/32 microstepping)
- Quieter operation
Arduino Uno, Mega, or UNO R4 boards are not included - shown in the photo for illustrative purposes only.
📄 Documentation & Resources
- User Manual & Hookup Guide
- UNO R4-Compatible WiFi Board User Guide
- All Motor Driver & Controller Guides
- All Microcontroller Shield Guides
Sold and supported by Envistia Mall. Ships from the USA. For wiring diagrams, sample code, and troubleshooting, see the User Guide tab on this product page. The manufacturer and Envistia LLC (dba Envistia Mall) are not responsible for any damages or losses resulting from the use of this product. Always follow proper electrical safety practices when working with electronic components. Specifications are based on manufacturer data and are subject to change without notice.
Share
- 5 stars: 4 (100%)
- 4 stars: 0 (0%)
- 3 stars: 0 (0%)
- 2 stars: 0 (0%)
- 1 star: 0 (0%)
Works and got me through my senior design project
If you are needing to drive a NEMA 17 motor up to 1 or maybe 2 Amps this driver module may be just what you need. I have seen a lot of reviews that mention module overheating and motors that just vibrate or run erratically when connected to the module and I have to say the same thing happened to me. It wasn’t the driver module’s fault though. I found that if you crank the reference voltage potentiometer fully counterclockwise before ever connecting power and then easing it up clockwise incrementally once power is applied and monitoring the stepper motor coil amperage you will avoid the overheating issue. The buzzing motor, or erratic operation issue occurs if you don’t connect the motor windings up to the driver outputs 1A, 1B, 2A, and 2B correctly. StepperOnline labels the windings as A+, A-, B+, and B-. If you connect A+ to 1A, A- to 1B, B+ to 2A, and B- to 2B things work as you would expect. Once I figured this out I was able to drive the motor to 0.6A under full load (stalled motor armature) for several minutes with no signs of overheating in the driver module or the stepper motor. My power supply could only drive 12 volts at 0.6A so I couldn’t push things any higher but since things stayed cool and stable at those levels (except for my power supply!) I am pretty confident that when my new power supply comes in I will still be OK at 1.5 to 2 amps. Will come back and edit this review if I find out otherwise. At this point though, I am very satisfied with the A4988 stepper motor driver! One other note - one of the two tantalum capacitors I had in parallel across the motor supply power connectors in the photo exploded like a firecracker during this testing. And, no, I didn’t have the polarity wrong on the one that exploded. They were both rated at 33uF and 35 volts. Switched to a 2200uF 50v electrolytic and it help up just fine. Guessing that transients generated by the motor windings exceeded the voltage rating and caused the poor little bugger to short out and over heat.
I was given a 3D printer that did not work correctly. The filament was not advancing. I replaced the stepper driver with this one, and it started working.
Exactly what I needed! Worked perfectly. Love that it’s a 2 pack so I have a backup on hand in case any other issues arise unexpectedly.