
D3806 0-38V 6A Out Step Up / Step Down Boost/Buck CC/CV Power Converter Module w/ Meter
D3806 0-38V 6A Out Step Up / Step Down Boost/Buck CC/CV Power Converter Module w/ Meter
Couldn't load pickup availability
📋 Overview
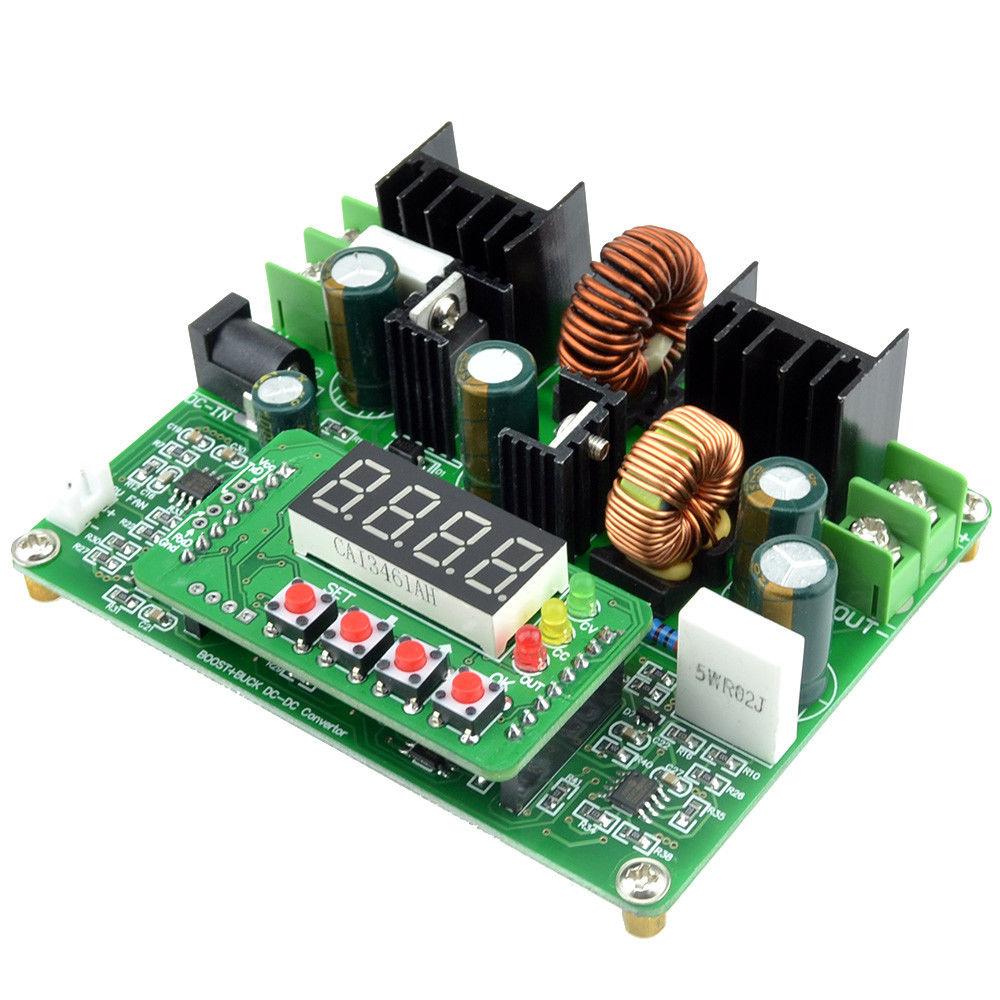
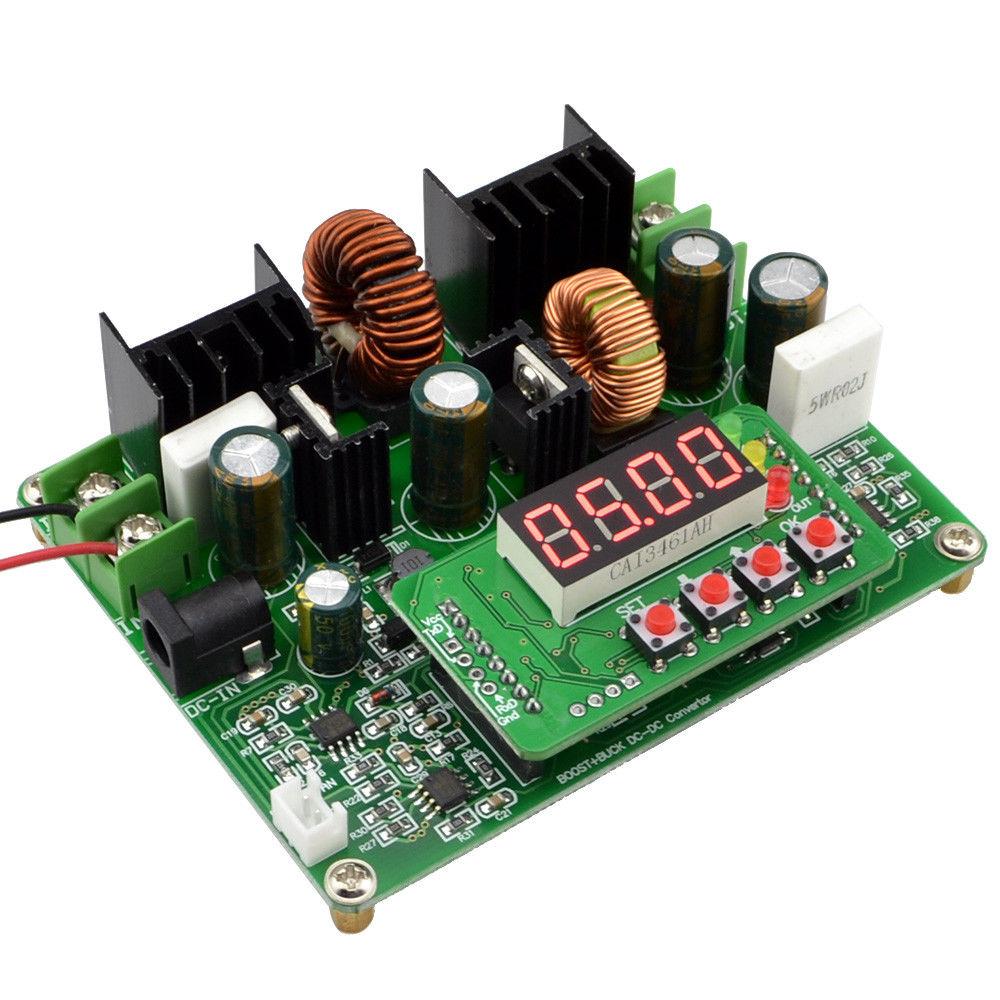
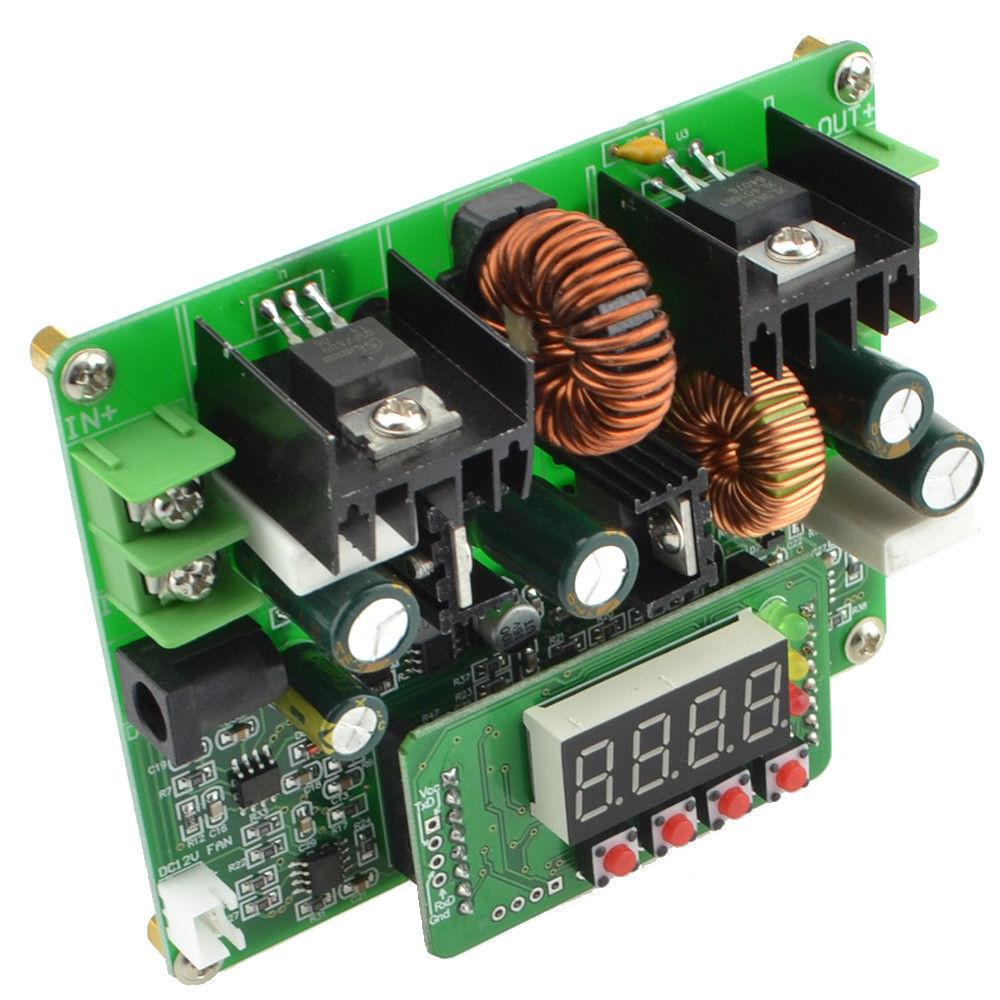
The D3806 is a digitally controlled DC-DC power converter module that can both step up (boost) and step down (buck) voltage. It accepts an input of 10–40V DC and provides an adjustable output from 0–38V DC at up to 6A, making it a versatile all-in-one solution whether your input voltage is higher, lower, or equal to your desired output.
The module operates in both Constant Voltage (CV) and Constant Current (CC) modes with a built-in 4-digit LED display showing real-time output voltage, current, power (watts), and cumulative capacity (amp-hours). Three front-panel buttons give you full control over all settings, and 10 memory presets let you save and recall your favorite voltage/current combinations instantly.
Whether you're building a benchtop power supply, charging batteries, driving LEDs, or regulating solar panel output, the D3806 handles it all in one compact, easy-to-use module.
⭐ Key Features
- Boost and Buck in One Module — Steps voltage up or down from a single input, eliminating the need for separate converters
- Wide Input Range — Accepts 10V to 40V DC input via screw terminals or DC barrel jack
- Adjustable Output — 0V to 38V DC output at up to 6A with fine digital control
- CC/CV Modes — Constant Voltage and Constant Current with LED indicators showing the active mode
- Built-In Digital Display — 4-digit LED shows voltage, current, power (W), and capacity (Ah) in real time
- 10 Memory Presets — Save and recall up to 10 voltage/current parameter sets (M0–M9)
- Three Special Functions — Auto-output on power-up, parameter save/recall, and auto-rotate display
- Simple Three-Button Interface — SET, OK, and ▲/▼ buttons for intuitive operation
- Fan Header — +12V 2-pin fan connector for active cooling under heavy loads
- Dual Input Options — Screw terminals for high-current applications plus a convenient DC barrel jack
📊 Specifications
| Input Voltage | DC 10V – 40V |
| Maximum Input Current | 8A |
| Output Voltage | DC 0V – 38V (adjustable) |
| Output Current | 0A – 6A (adjustable) |
| Operating Mode | CC (Constant Current) / CV (Constant Voltage) |
| Display | 4-digit LED (voltage, current, power, capacity) |
| Memory Presets | 10 groups (M0–M9) |
| Input Connector | Screw terminals + DC barrel jack |
| Output Connector | Screw terminals |
| Fan Header | +12V DC, 2-pin |
| Operating Temperature | -40°C to +85°C |
| Board Dimensions | Approx. 100 × 80 × 35 mm (3.94 x 3.15 x 1.38 inches) L × W × H |
| Weight | Approx. 180g (6.4 Ounces) |
⚠️ Important: Input voltage must be between 10V and 40V DC. Do not exceed 40V input or 8A input current. Never reverse the input polarity — this will permanently damage the module.
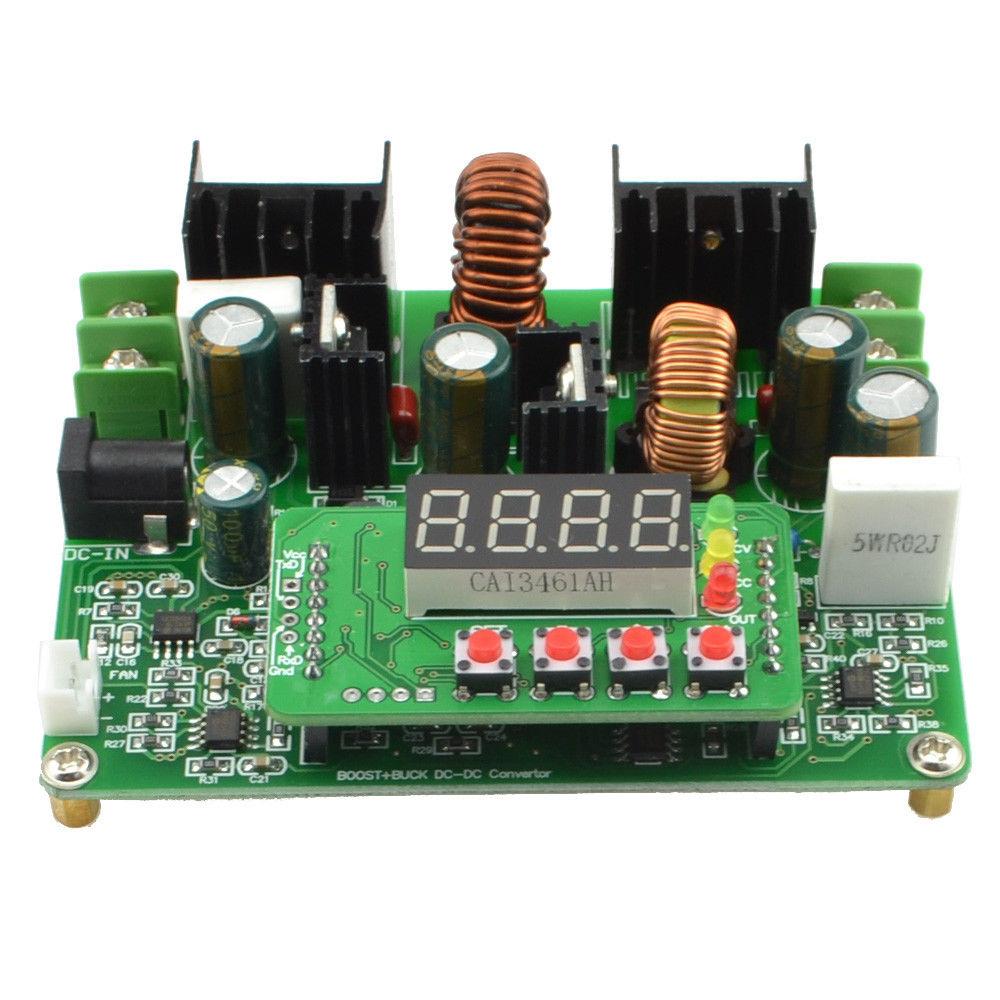
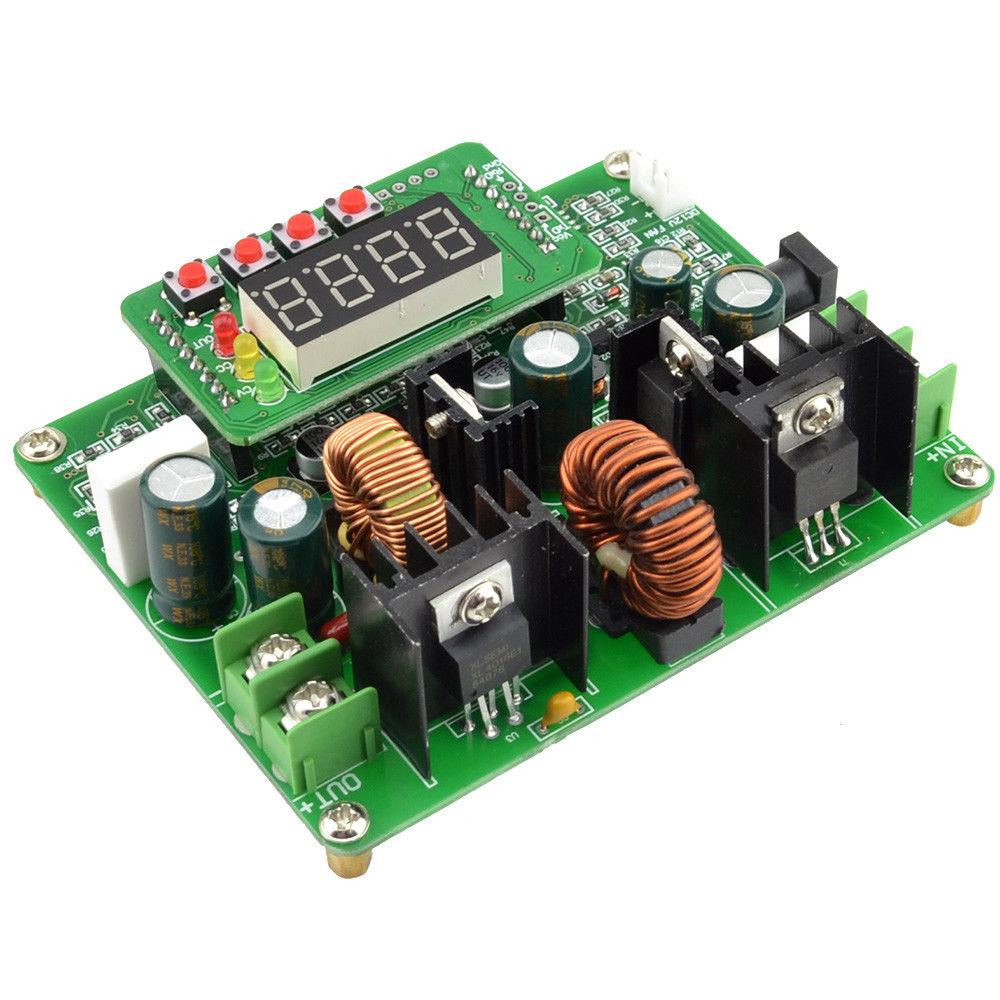
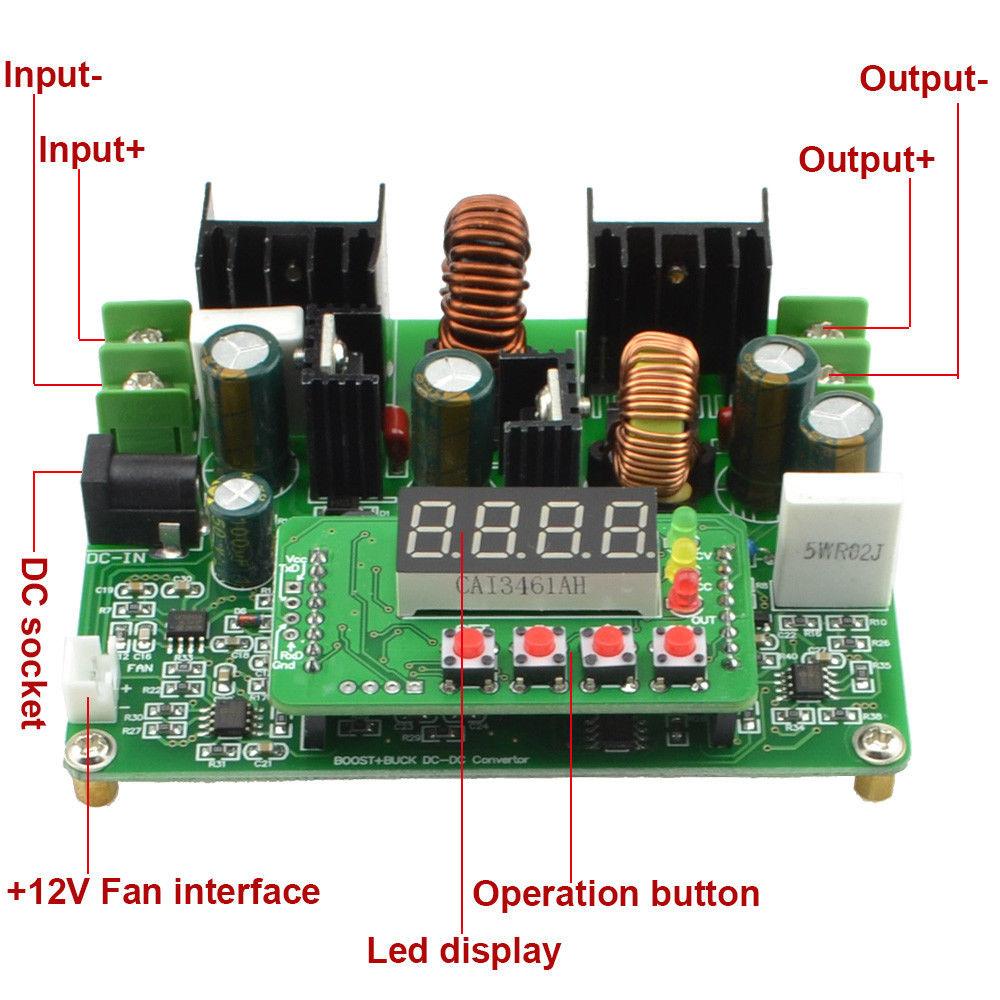
📌 Module Layout
| +Vin | Positive DC input (screw terminal) |
| -Vin | Negative DC input (screw terminal) |
| DC Jack | DC barrel power socket (alternative input) |
| Fan Header | +12V fan interface (2-pin connector) |
| +Vout | Positive DC output (screw terminal) |
| -Vout | Negative DC output (screw terminal) |
| Display | 4-digit LED display with OUT, CV, and CC status indicators |
| Buttons | Three operation buttons: SET, OK, ▲/▼ |
🔌 Wiring / Connections
Input Wiring
- Connect your DC power source positive (+) wire to the +Vin screw terminal
- Connect your DC power source negative (−) wire to the -Vin screw terminal
- Alternatively, plug a compatible DC barrel plug into the DC Jack
Output Wiring
- Connect your load's positive (+) wire to the +Vout screw terminal
- Connect your load's negative (−) wire to the -Vout screw terminal
Fan (Optional)
For high-power operation, connect a 12V DC cooling fan to the 2-pin Fan Header. Recommended when operating above 50W for extended periods.
⚠️ Warning: Use either the screw terminals or the DC barrel jack for input — do not use both simultaneously. Double-check polarity before applying power. There is no built-in reverse polarity protection.
🚀 Getting Started
- Connect your input power source (10–40V DC) to the input terminals — the LED display will light up
- Press ▲/▼ to set your desired output voltage (displayed as 00.00)
- Press SET to switch to current mode, then use ▲/▼ to set your current limit (displayed as 0.000)
- Press OK to enable the output — the OUT indicator will light up along with CV or CC
- While running, short-press OK to cycle the display between voltage, current, power, and capacity
- Press SET to turn off the output
💡 Tip: The voltage display uses two decimal places (e.g., 12.50 = 12.50V) while the current display uses three decimal places (e.g., 1.500 = 1.500A). This is how you can tell which parameter you're viewing at a glance. See our complete User Guide for detailed instructions on memory presets and special functions.
🎯 Typical Applications
- DIY Benchtop Power Supply — Pair with a 12V or 24V adapter for an adjustable lab supply
- Battery Charging — Use CC/CV mode to charge lithium, lead-acid, or NiMH batteries
- LED Driver — Set constant current to safely drive high-power LEDs
- Solar Power Systems — Regulate solar panel output to a stable voltage
- Electronics Testing — Provide precise, adjustable voltage and current for testing circuits
- Voltage Conversion — Step up a 12V car battery to 24V, or step down 24V to 5V
- Portable Power Systems — Regulate battery packs for field equipment
⚠️ Important Notes
- No reverse polarity protection. Connecting the input with reversed polarity will permanently damage the module.
- Input voltage range is strict. The input must be between 10V and 40V. Voltages below 10V may cause unstable operation; voltages above 40V may damage the module.
- Maximum input current is 8A. When boosting voltage, the input current will be higher than the output current. Ensure your power source and wiring can handle this.
- Not isolated. The input and output share a common ground. This module does not provide galvanic isolation.
- Use adequate cooling. At high power levels, the module generates significant heat. Use the fan header for active cooling or ensure adequate ventilation.
- Large step-up ratios reduce available current. Very large boost ratios (e.g., 12V in → 38V out) will reduce the maximum output current. Plan your input voltage accordingly.
📦 What's in the Box
- 1x D3806 DC-DC Boost/Buck CC/CV Power Converter Module
📄 Documentation & Resources
- D3806 User Guide — Complete setup instructions, display guide, memory presets, special functions, and troubleshooting
- All Boost/Buck Converter User Guides
Sold and supported by Envistia Mall. Ships from the USA. For wiring diagrams, setup instructions, and troubleshooting, see the User Guide. The manufacturer and Envistia LLC (dba Envistia Mall) are not responsible for any damages or losses resulting from the use of this product. Always follow proper electrical safety practices when working with electronic components. Specifications are based on manufacturer data and are subject to change without notice.
Share