Arduino Nano-Compatible Microcontroller Board ATmega328P CH340G
Arduino Nano-Compatible Microcontroller Board ATmega328P CH340G
Couldn't load pickup availability
📋 Overview
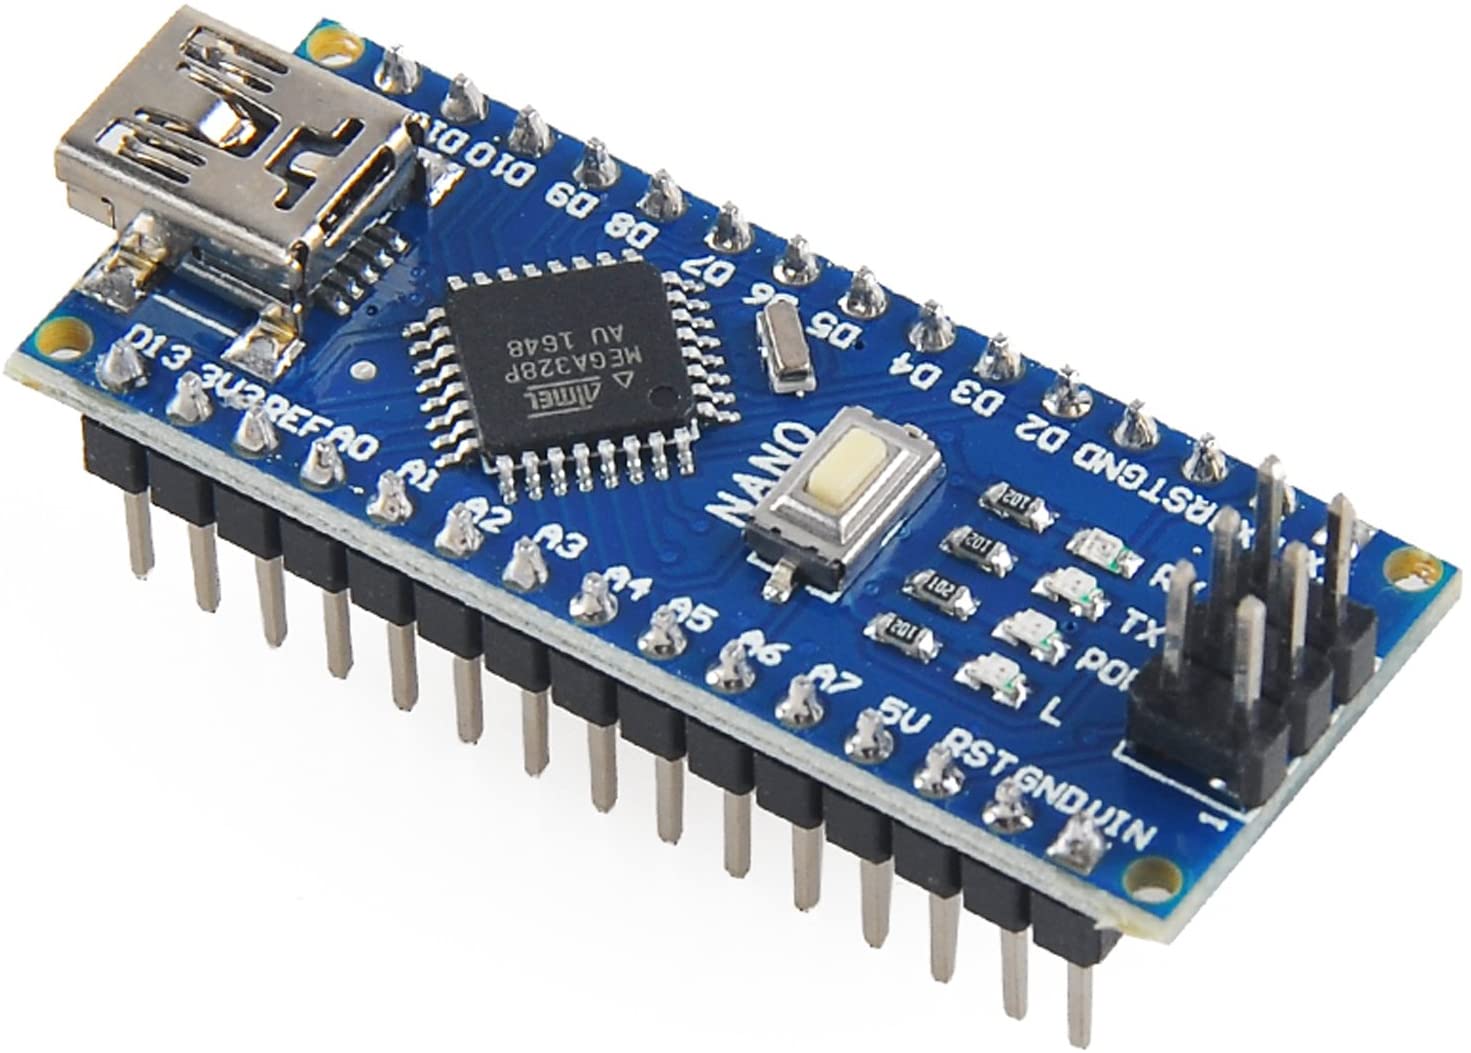
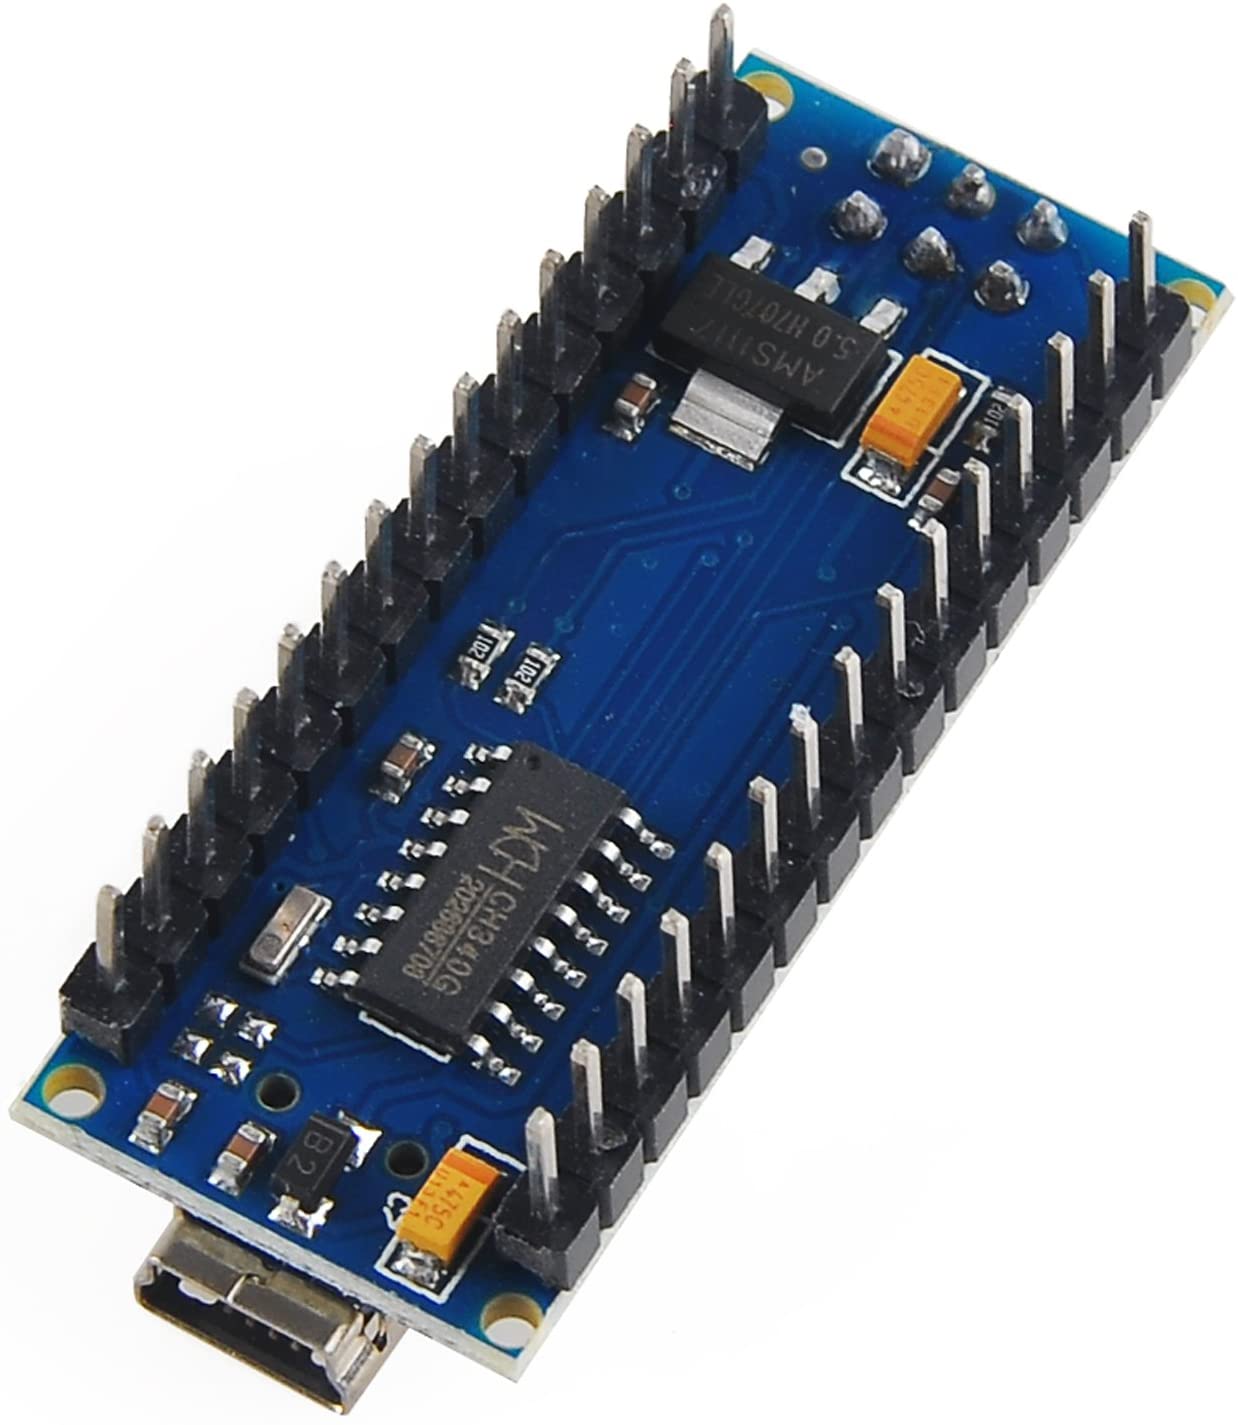
The Nano V3.0 compatible ATmega328P microcontroller board is a compact, breadboard-friendly development board compatible with the Arduino Nano. It delivers the same functionality as larger Arduino boards in a fraction of the size, making it ideal for prototyping, embedded projects, and learning electronics. This board uses the CH340G USB-to-serial chip, providing an affordable and widely compatible alternative to FTDI-based boards.
💡 Tip: This board uses the CH340G USB driver, which may need to be installed on your computer before the Arduino IDE can communicate with the board. See our User Guide for driver download links and installation instructions.
📦 Available Variations
This listing is available in four configurations. Choose the option that best fits your needs:
| Variation | Header Pins | 30cm Mini-B USB Cable | Best For |
|---|---|---|---|
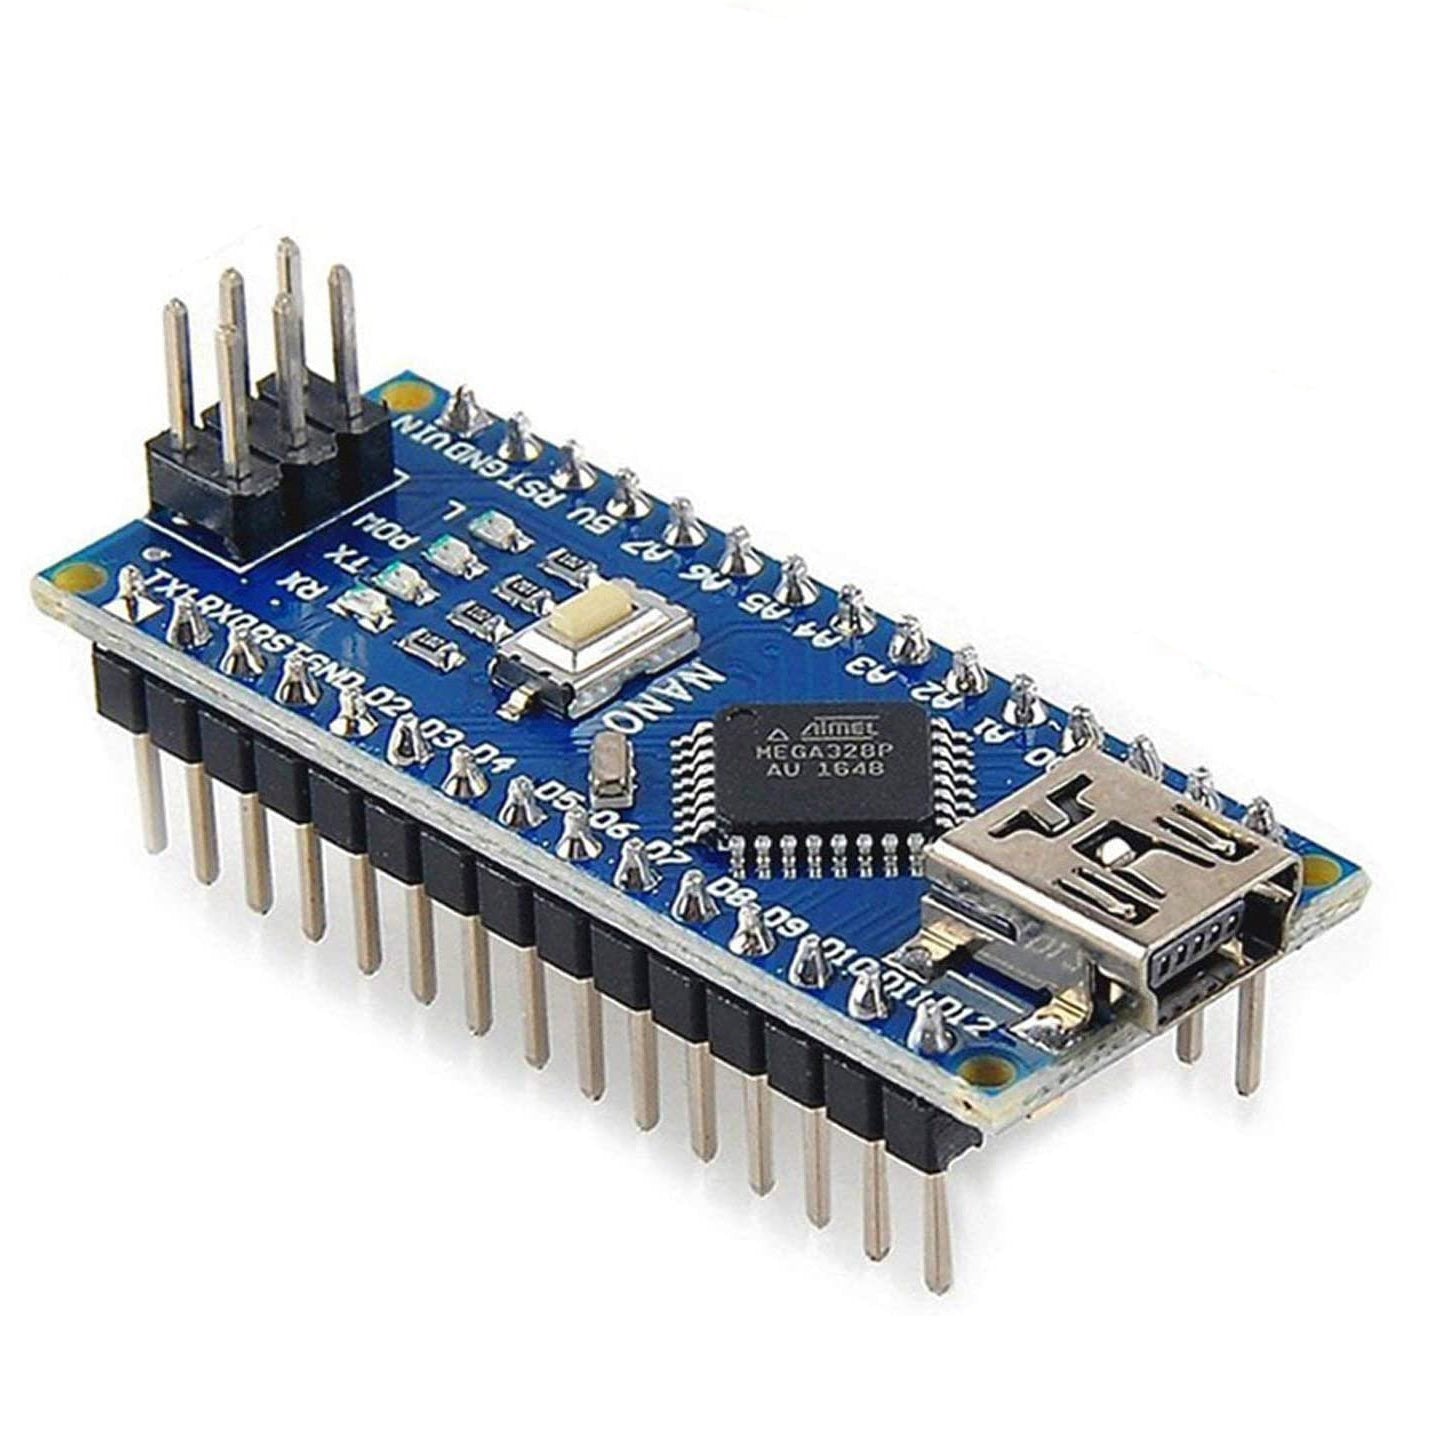
| Soldered Pins – Board Only | Pre-soldered onto board | Not included | Plug directly into a breadboard — no soldering needed |
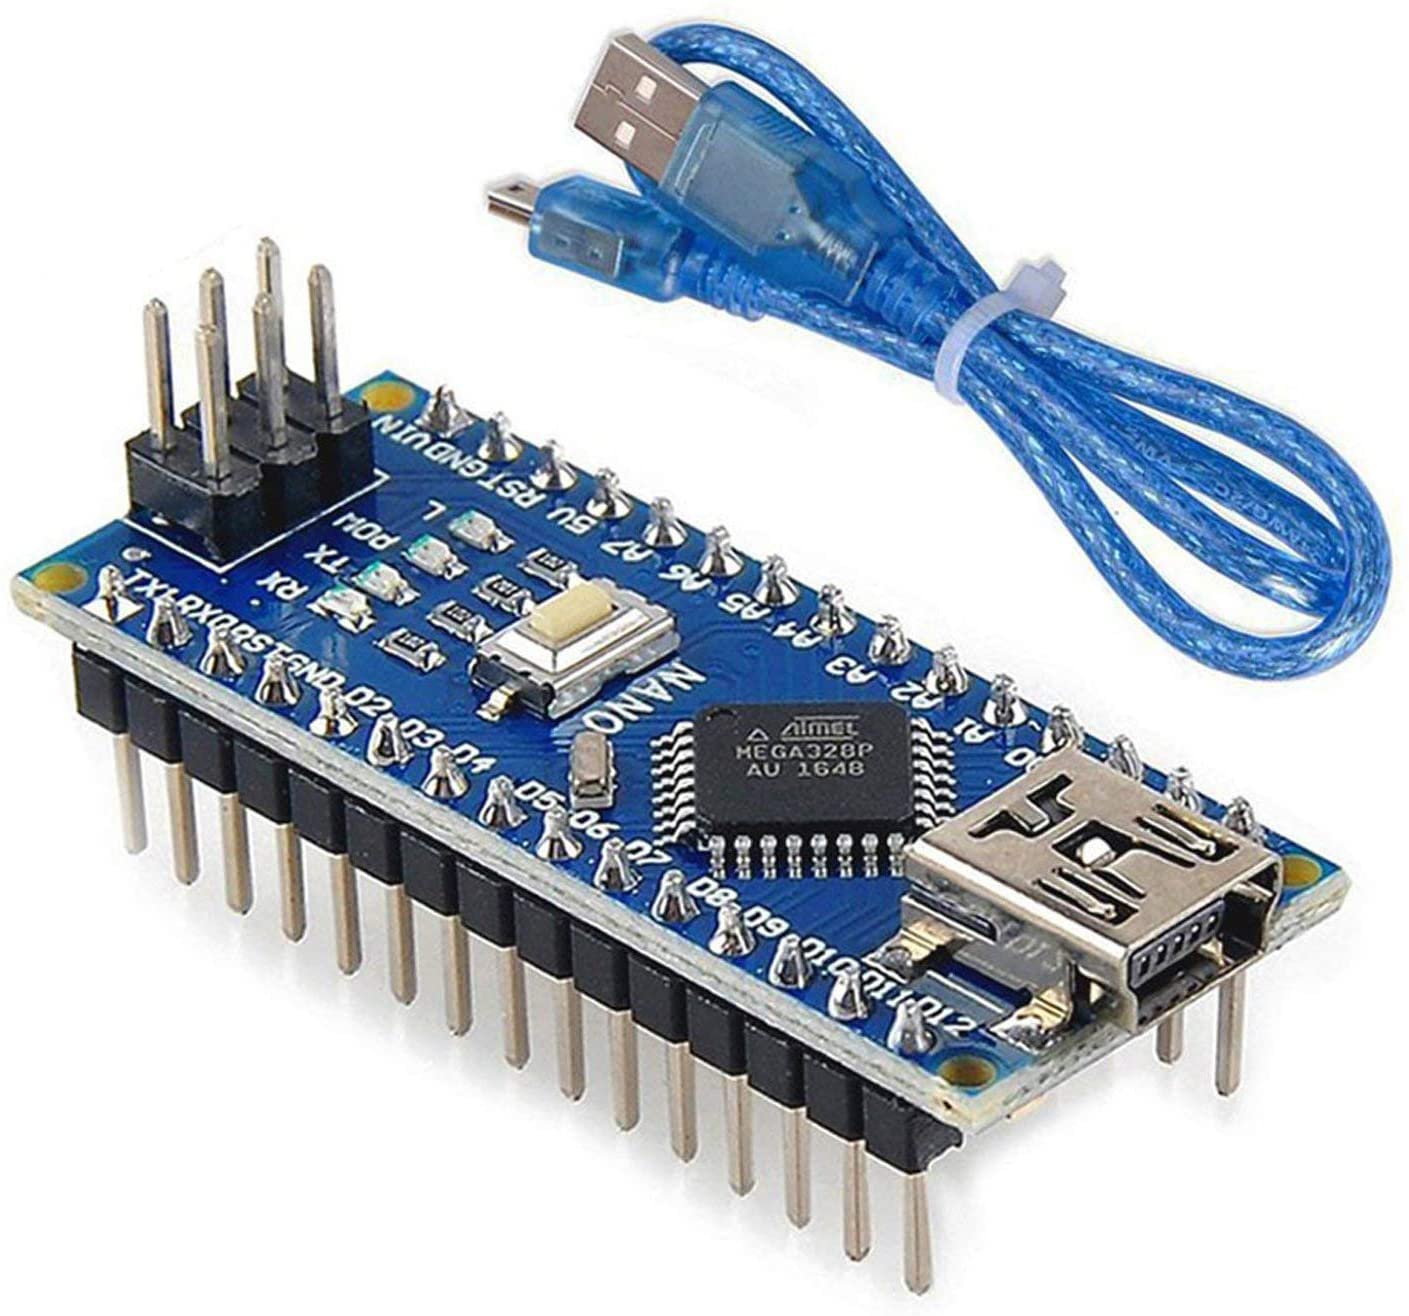
| Soldered Pins – With USB Cable | Pre-soldered onto board | Included | Complete starter option — breadboard-ready with cable |
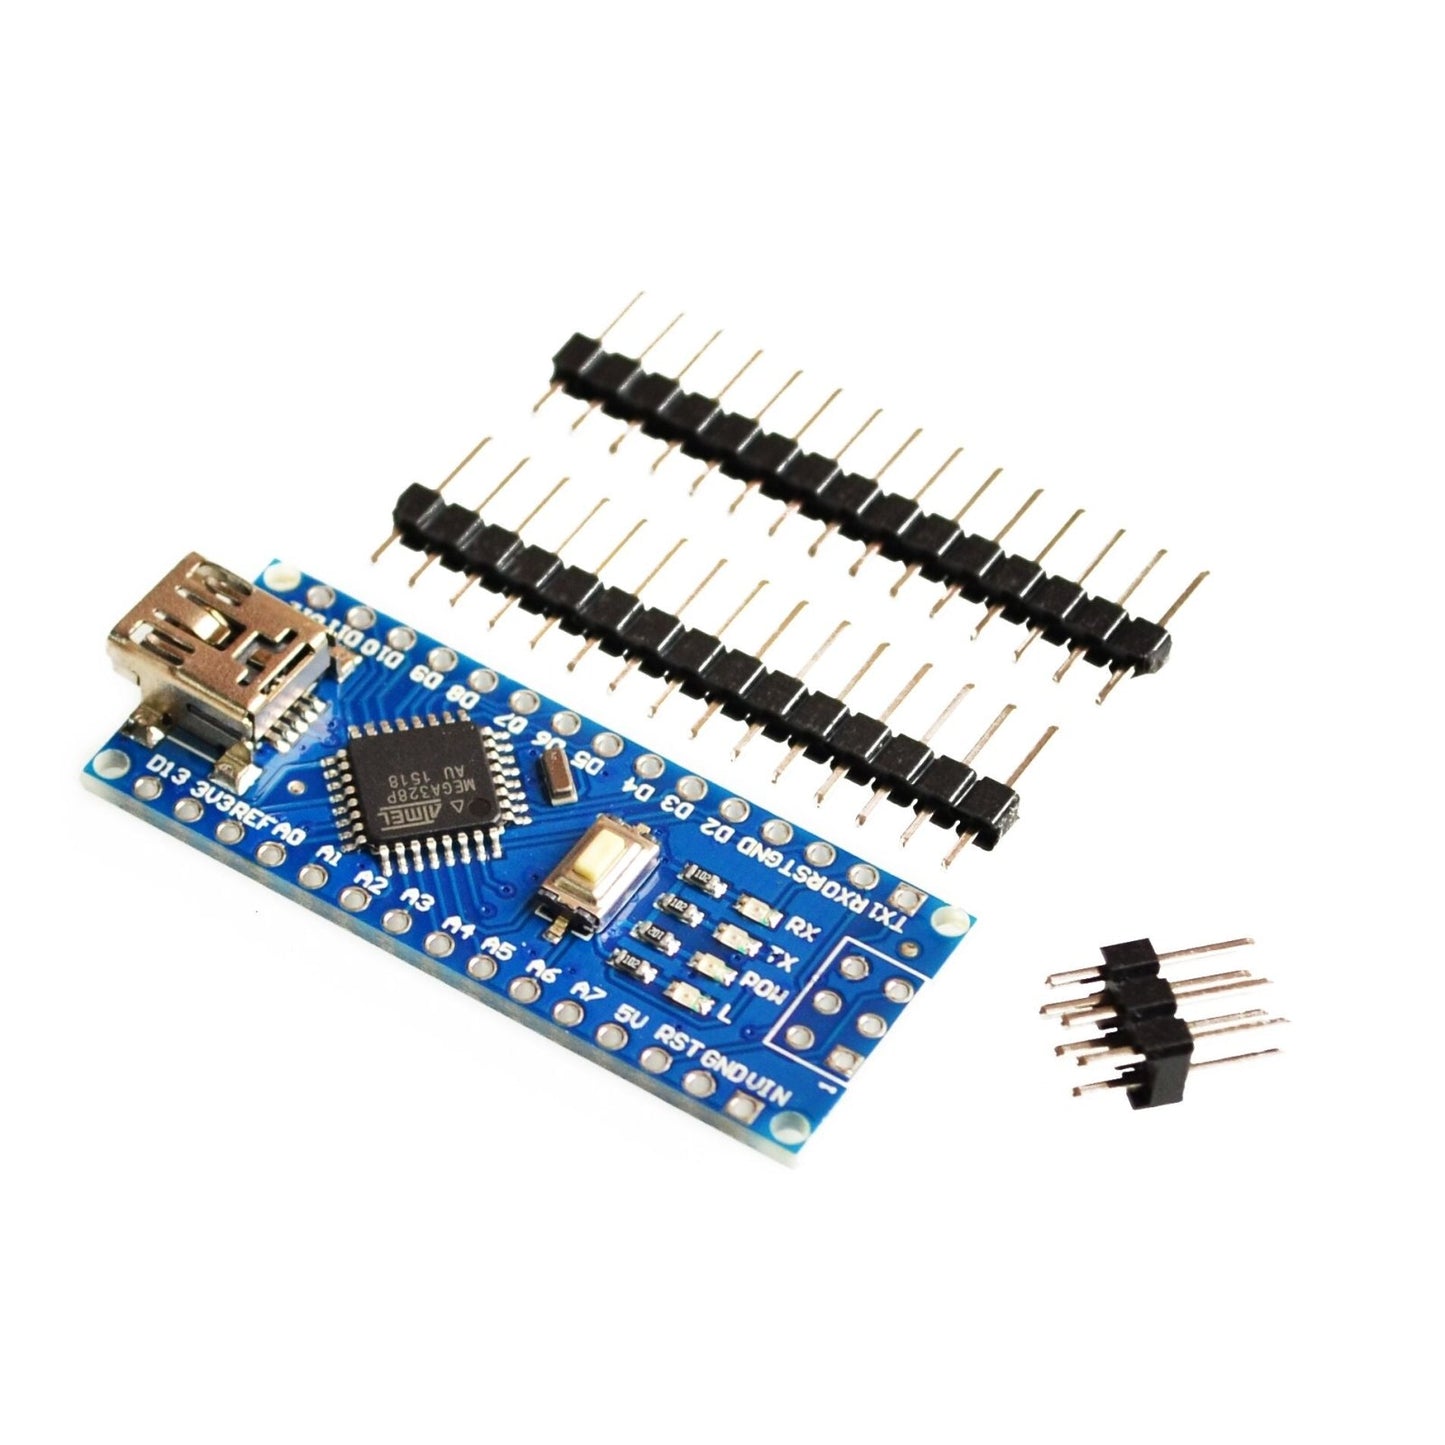
| Loose Pins – Board Only | Included loose (unsoldered) | Not included | Flexibility to solder pins up, down, or use custom headers |
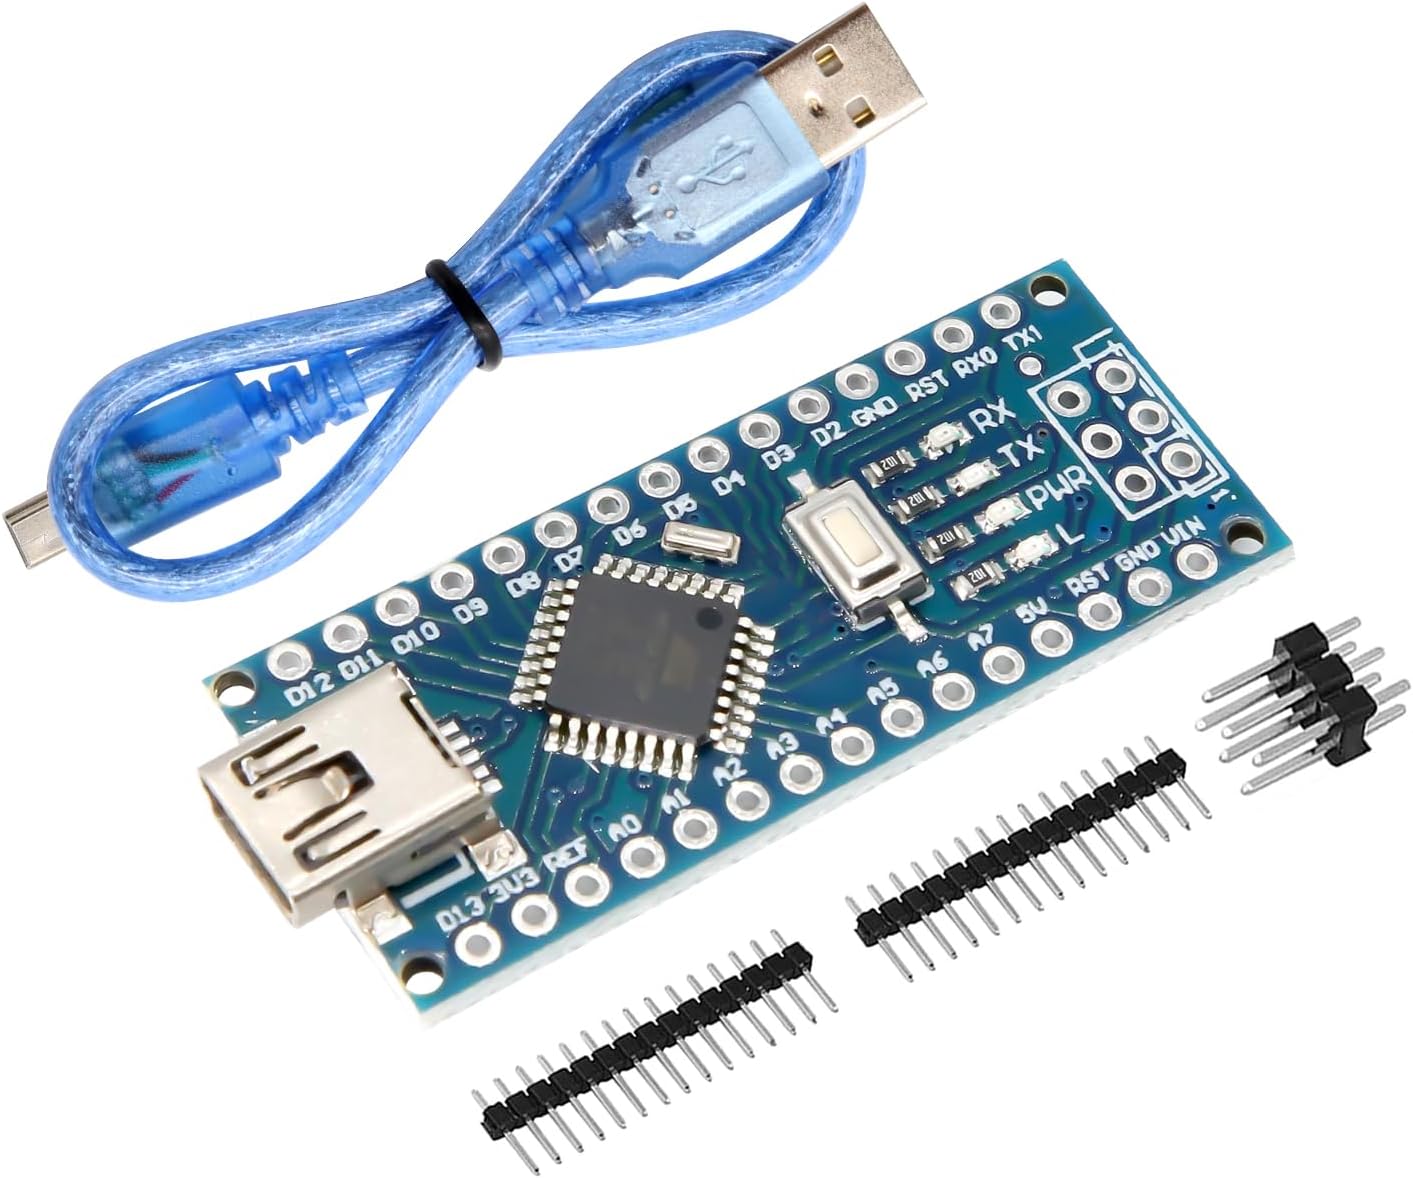
| Loose Pins – With USB Cable | Included loose (unsoldered) | Included | Full flexibility with cable included |
💡 Tip: If you're new to electronics, choose a Soldered Pins option — the board plugs directly into a breadboard with no soldering required. If you prefer to mount the board flush to a PCB or solder pins in a custom orientation, choose Loose Pins.
⭐ Key Features
- ATmega328P Microcontroller — 32 KB flash, 2 KB SRAM, 1 KB EEPROM, running at 16 MHz
- CH340G USB Interface — Reliable USB-to-serial communication via Mini-B USB connector
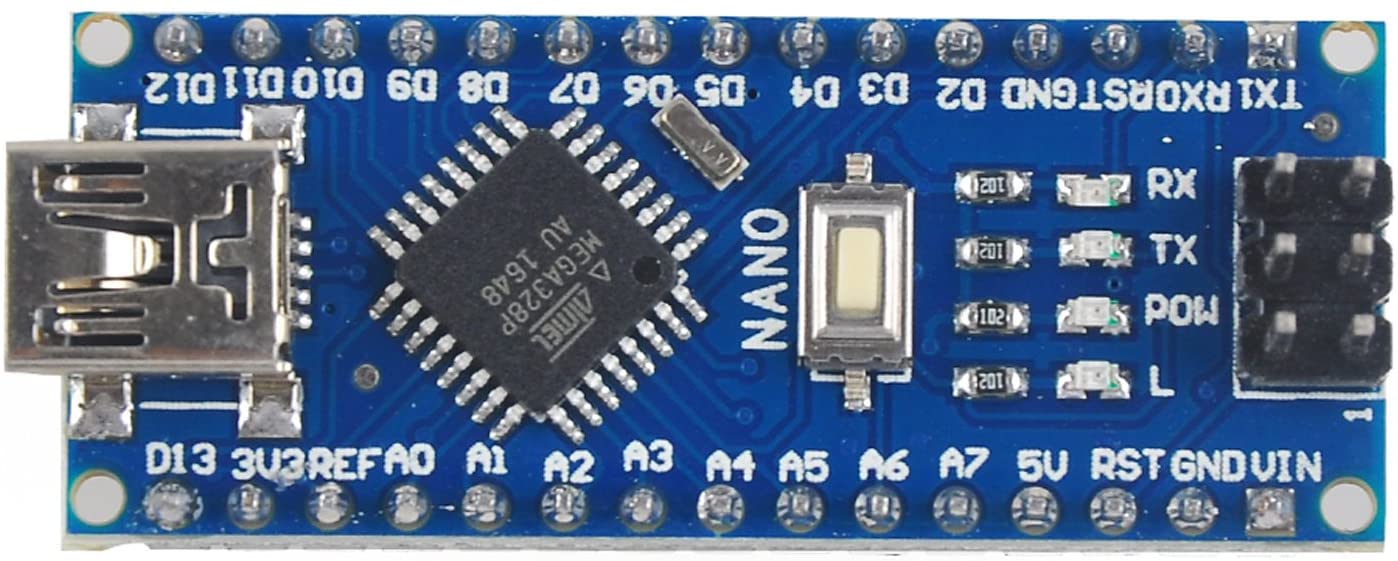
- 14 Digital I/O Pins — Including 6 PWM outputs (D3, D5, D6, D9, D10, D11)
- 8 Analog Inputs — A0–A7 with 10-bit resolution (1024 steps)
- Breadboard-Friendly — Compact form factor with dual inline pin headers
- Flexible Power Options — USB, 5V regulated, or 7–12V unregulated via VIN pin
- ICSP Header — For In-Circuit Serial Programming
- Bootloader Pre-Installed — Program immediately using the Arduino IDE
📊 Specifications
| Parameter | Value |
|---|---|
| Microcontroller | Atmel ATmega328P-AU |
| USB-to-Serial Chip | CH340G |
| Operating Voltage | 5V |
| Clock Speed | 16 MHz |
| Flash Memory | 32 KB (2 KB used by bootloader) |
| SRAM | 2 KB |
| EEPROM | 1 KB |
| Digital I/O Pins | 14 (6 PWM capable) |
| Analog Input Pins | 8 (A0–A7) |
| Max Current per I/O Pin | 20 mA |
| Max Current on 3.3V Pin | 50 mA |
| Recommended Input Voltage (VIN) | 7–12V DC |
| USB Connector | Mini-B USB |
| Board Dimensions | Approx. 45 × 18 mm (1.77 × 0.71 inches) L × W |
📦 What's in the Box
Contents vary by selected option:
| Item | Soldered – Board Only | Soldered – With Cable | Loose – Board Only | Loose – With Cable |
|---|---|---|---|---|
| ATmega328P CH340G Board | 1x | 1x | 1x | 1x |
| Header Pins (soldered) | ✅ | ✅ | — | — |
| Header Pins (loose) | — | — | ✅ | ✅ |
| 30cm Mini-B USB Cable | — | ✅ | — | ✅ |
What You'll Need (if not included with your variation)
- Mini-B USB Cable — Required for programming and powering the board (included with "With USB Cable" options)
- Soldering Iron — Required to attach header pins (only for "Loose Pins" options)
- Solderless Breadboard — For prototyping circuits
- Jumper Wires — For connecting components to the board
🔧 How It Works
- Install the CH340G USB driver on your computer (Windows, macOS, or Linux)
- Download and install the Arduino IDE
- If you have the Loose Pins version, solder the header pins onto the board first
- Plug the board into a breadboard and connect it to your computer with a Mini-B USB cable
- In the Arduino IDE, select Tools > Board > Arduino Nano and Tools > Processor > ATmega328P
- Select the correct COM port under Tools > Port
- Upload your sketch and start building!
💡 Tip: If uploading fails, try changing the processor to ATmega328P (Old Bootloader) under Tools > Processor. See our complete User Guide for detailed wiring diagrams, pinout tables, sample code, and troubleshooting tips.
See the User Guide for detailed Pinout, CH340G Driver Installation Instructions, Wiring, Example Sketches & Troubleshooting
🔌 Compatible With
- Arduino IDE (select board: "Arduino Nano", processor: "ATmega328P")
- Arduino Nano shields and expansion boards
- Standard solderless breadboards
- All Arduino libraries compatible with ATmega328P
- PlatformIO and other AVR development environments
- Windows, macOS, and Linux (with CH340G driver)
🎯 Typical Applications
- Learning programming and electronics fundamentals
- Sensor monitoring (temperature, humidity, light, motion)
- Home automation and relay control
- Robotics and motor control (servos, steppers, DC motors)
- IoT prototyping with Wi-Fi/Bluetooth modules (ESP8266, HC-05)
- Data logging and serial communication projects
- Wearable and portable electronics
⚠️ Important Notes
- Do not exceed 20 mA per I/O pin or 200 mA total across all I/O pins
- The 3.3V pin supplies a maximum of 50 mA — do not use it for high-current 3.3V devices
- When using VIN, keep input between 7–12V. Voltages above 12V may cause the regulator to overheat
- Pins D0 (RX) and D1 (TX) are shared with USB serial — avoid using them for other purposes during serial communication
- Pins A6 and A7 are analog input only and cannot be used as digital I/O
- This board is compatible with Arduino Nano but is not manufactured by or affiliated with Arduino
📄 Documentation & Resources
- User Guide — Pinout, CH340G Driver Install, Wiring, Example Sketches & Troubleshooting
- All Arduino-Compatible MicroController User Guides
This product is compatible with Arduino Nano but is not manufactured by or affiliated with Arduino. "Arduino" and "Nano" are trademarks of Arduino SA. Sold and supported by Envistia Mall. Ships from the USA. For wiring diagrams and troubleshooting, see the User Guide link above. The manufacturer and Envistia LLC (dba Envistia Mall) are not responsible for any damages or losses resulting from the use of this product. Always follow proper electrical safety practices when working with electronic components. Specifications are based on manufacturer data and are subject to change without notice.
Share