


W1209 12V Digital Thermostat Temperature Controller Module with NTC Sensor and Plastic Case
W1209 12V Digital Thermostat Temperature Controller Module with NTC Sensor and Plastic Case
Couldn't load pickup availability
Automate Temperature Control — Now with a Professional Enclosed Design
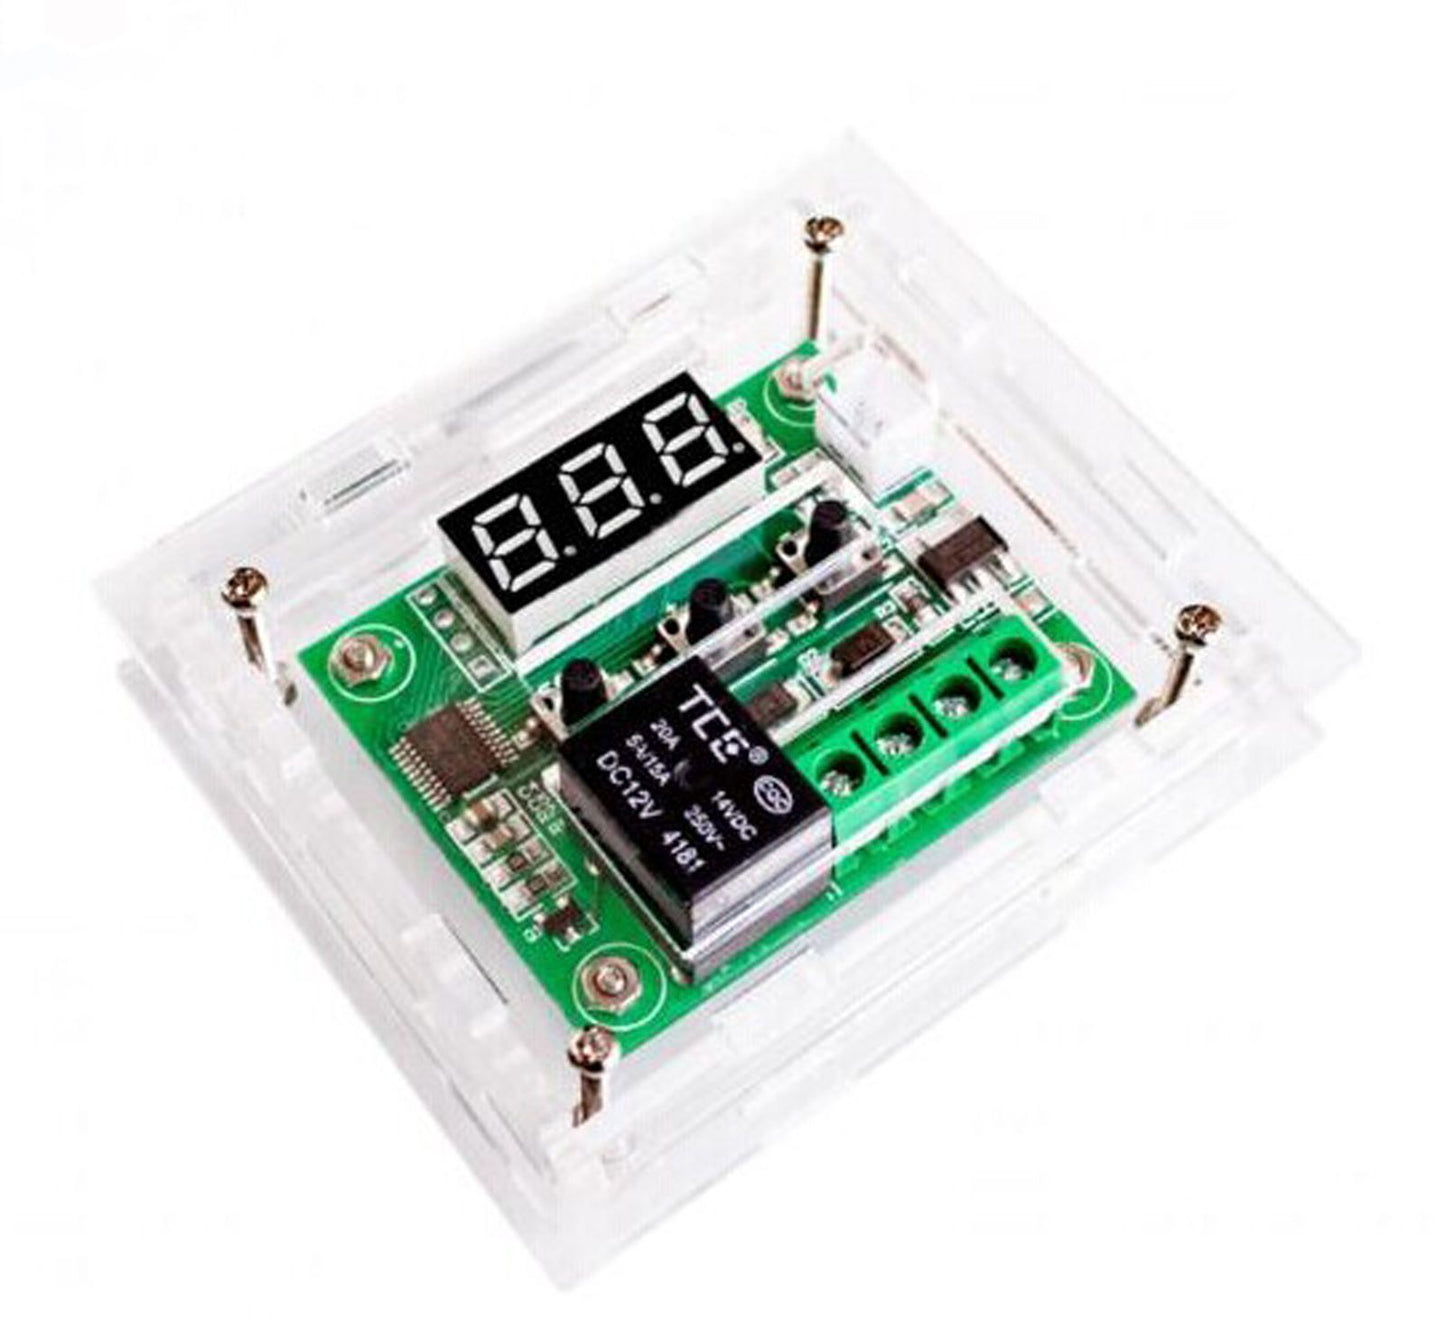
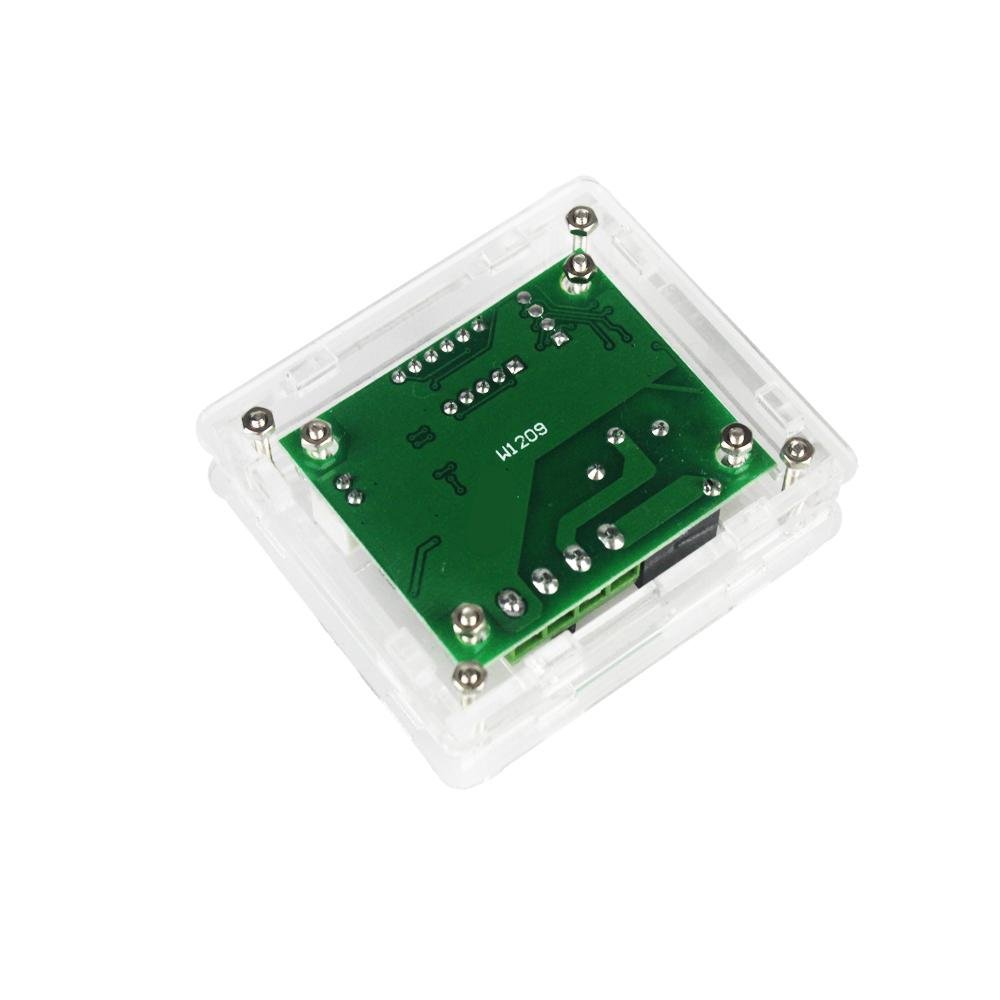
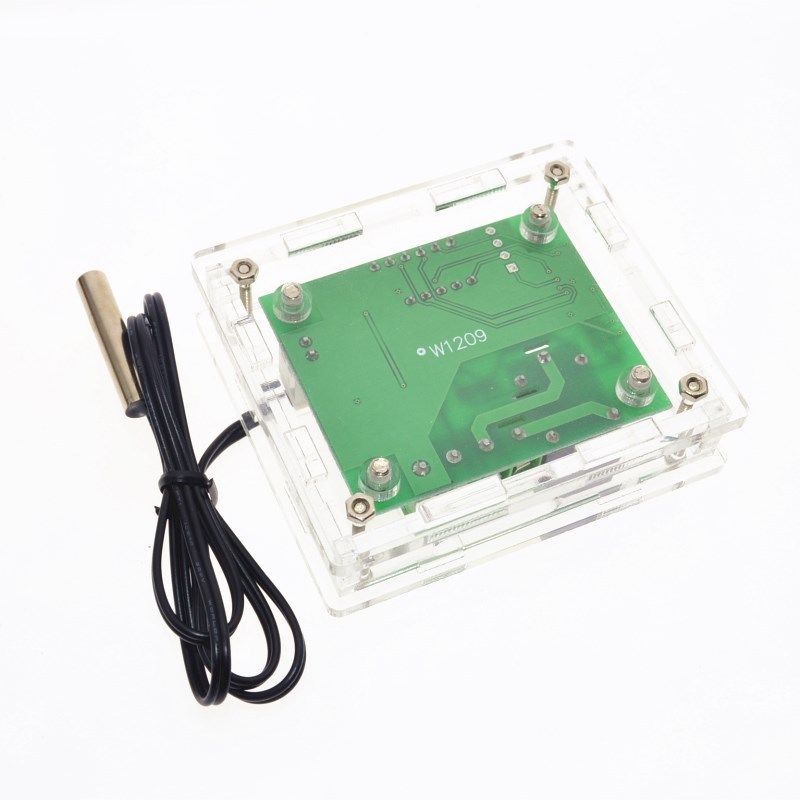
The W1209 12V Digital Thermostat Temperature Controller Module with Acrylic Case is the same powerful, compact thermostat you know — housed in a clear acrylic plastic enclosure for a cleaner, more professional installation. The snap-together case protects the board from dust, debris, and accidental contact while keeping the LED display, buttons, and wiring terminals fully accessible.
Whether you're building a homebrew fermentation chamber, a reptile habitat controller, a greenhouse ventilation system, or a 3D printer enclosure heater — the W1209 gives you precise, programmable temperature control at a fraction of the cost of commercial thermostats. And with the included acrylic case, your installation looks polished and finished from day one.
Simply connect 12V DC power, wire your heating or cooling device to the onboard relay, plug in the included NTC temperature sensor, and set your target temperature. The module does the rest — continuously monitoring the ambient temperature and switching your device on or off to maintain your desired setpoint.
Why Choose the Acrylic Case Version?
- Professional, finished appearance — The clear acrylic enclosure gives your project a clean, polished look compared to a bare PCB. Ideal for installations that are visible to end users or customers.
- Board protection — Shields the electronics from dust, moisture splashes, loose wires, and accidental short circuits — extending the life of the module in workshop and field environments.
- Full access retained — The case is designed with cutouts for the LED display, all three control buttons, the sensor header, the relay terminals, and the power input. Nothing is blocked — you get protection without sacrificing functionality.
All the Same Powerful Features
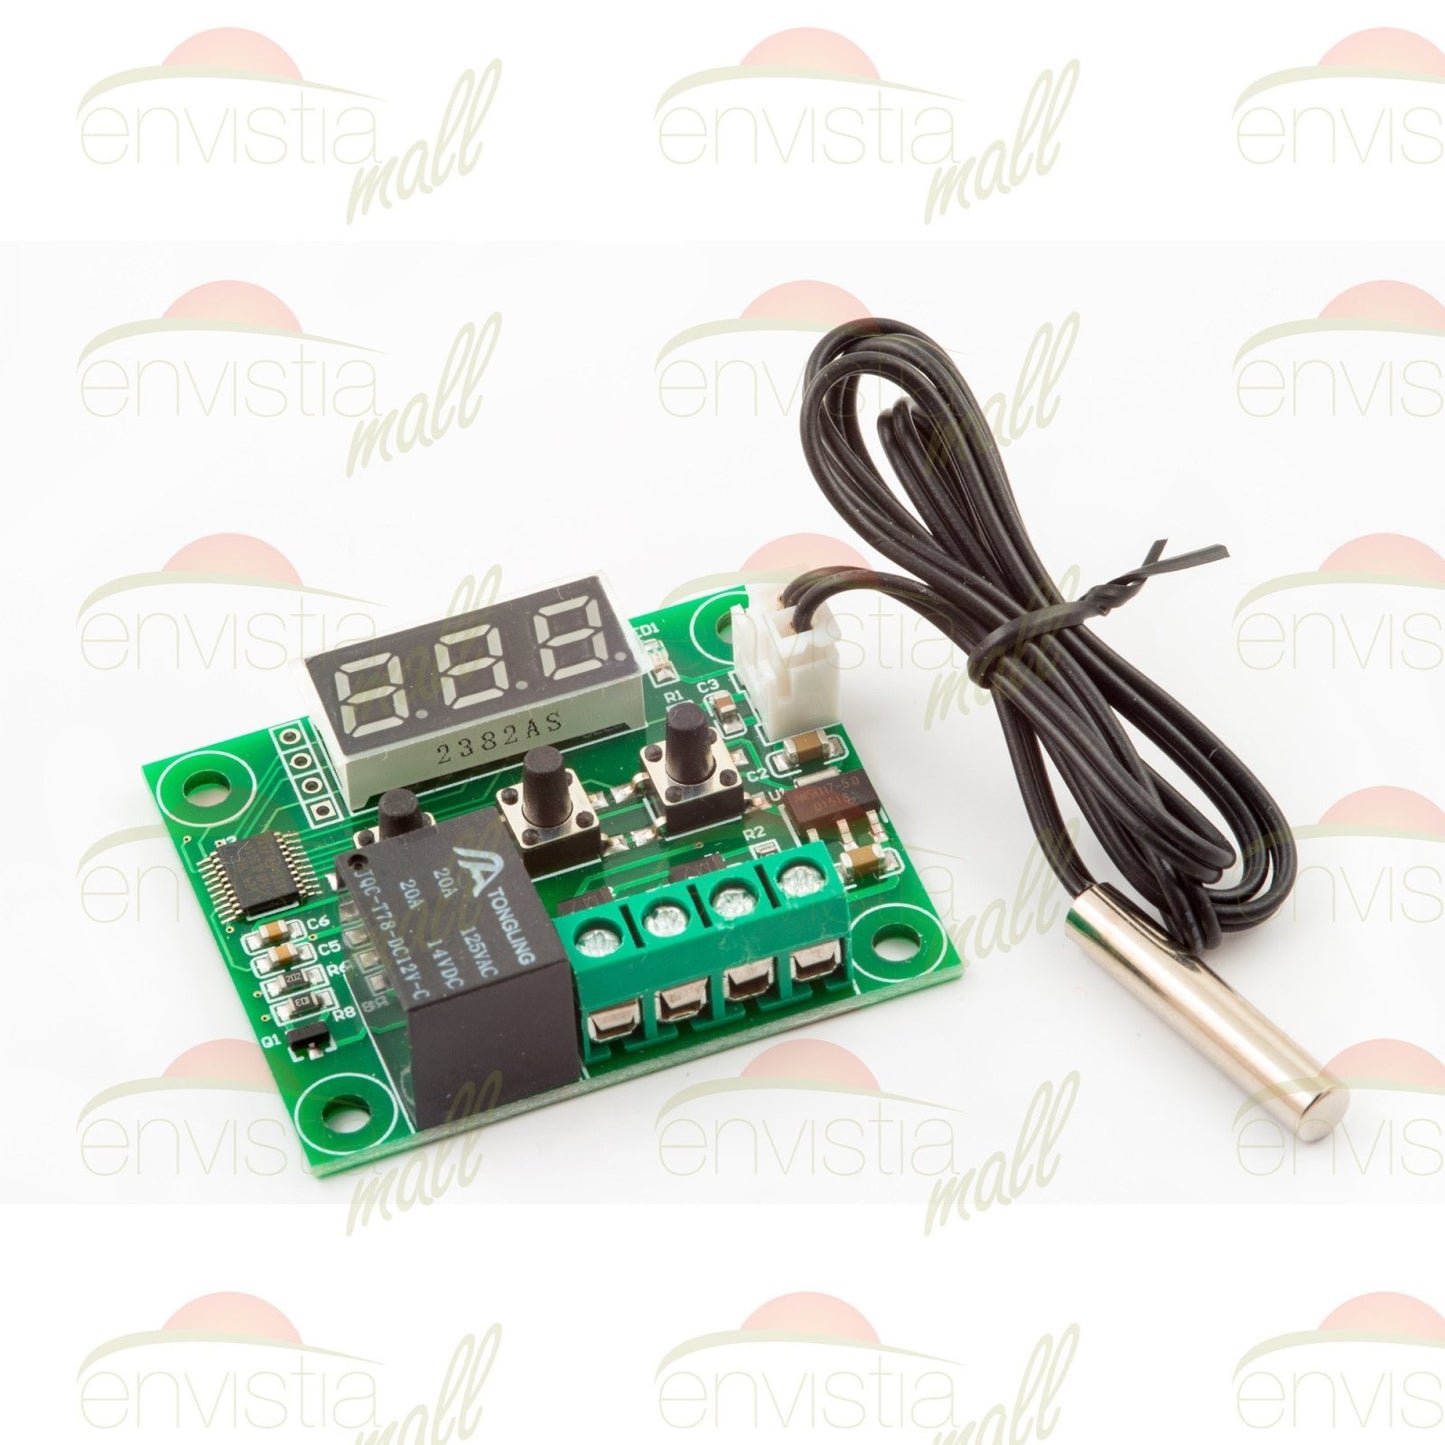
- Ready to use out of the box — Includes the controller board, waterproof NTC temperature sensor probe with cable, and the acrylic case. No soldering, no additional components needed.
- Wide temperature range — Measures from -50°C to 110°C (-58°F to 230°F) with ±0.1°C resolution, suitable for freezer monitoring, incubation, fermentation, and high-heat applications.
- Powerful onboard relay — Switches loads up to 10A at 120VAC or 10A at 14VDC, enough to directly control fans, small heaters, solenoid valves, Peltier coolers, and more.
- Heating AND cooling modes — Configurable for either heating (relay ON when temp drops below setpoint) or cooling (relay ON when temp rises above setpoint) via a simple menu setting.
- Adjustable hysteresis — Set a temperature differential (1°C–15°C) to prevent rapid relay cycling, extending the life of your connected equipment.
- Bright LED display — Easy-to-read 3-digit display visible through the clear acrylic front panel, even in dim environments.
- Simple 3-button interface — Set/Menu, Increment (+), and Decrement (–) buttons are fully accessible through the case cutouts. Programming is fast and intuitive.
- Compact footprint — Board measures just 48mm × 40mm — the case adds minimal additional size while providing full protection.
- Temperature alarm — Configurable high and low temperature alarm thresholds alert you when conditions move outside your desired range.
Popular Applications
| Application | Mode | How It Works |
|---|---|---|
|
🍺 Homebrew / Fermentation
|
Cooling
|
Activates a fan or cooler when wort temperature rises above target
|
|
🐍 Reptile / Terrarium Heating
|
Heating
|
Turns on a heat lamp or heat mat when enclosure cools below setpoint
|
|
🌱 Greenhouse / Grow Room
|
Cooling
|
Triggers exhaust fans when temperature exceeds threshold
|
|
🖨️ 3D Printer Enclosure
|
Heating
|
Maintains stable chamber temperature for ABS/ASA printing
|
|
🧊 Mini Fridge / Kegerator
|
Cooling
|
Controls compressor or Peltier module to maintain cold storage temp
|
|
🐔 Egg Incubator
|
Heating
|
Keeps incubation temperature steady for optimal hatch rates
|
|
🏠 Pipe Freeze Protection
|
Heating
|
Activates heat tape when ambient temp drops near freezing
|
|
🔧 Equipment Cooling
|
Cooling
|
Turns on cooling fans when electronics or machinery overheat
|
Technical Specifications
| Parameter | Value |
|---|---|
|
Supply Voltage
|
DC 12V (9V–12V operating range)
|
|
Temperature Range
|
-50°C to 110°C (-58°F to 230°F)
|
|
Measurement Accuracy
|
±0.1°C resolution
|
|
Temperature Sensor
|
NTC 10K thermistor (0.5% tolerance), waterproof probe
|
|
Relay Output
|
1 channel, 10A @ 120VAC / 10A @ 14VDC
|
|
Control Modes
|
Heating (H) or Cooling (C), user-selectable
|
|
Hysteresis Range
|
1°C to 15°C, adjustable
|
|
Display
|
3-digit red LED, 0.36"
|
|
Refresh Rate
|
0.5 seconds
|
|
Static Current
|
≤35mA
|
|
Operating Current
|
≤65mA
|
|
Board Dimensions
|
48mm × 40mm (1.9" × 1.6")
|
|
Enclosure
|
Clear acrylic plastic, snap-together, tool-free assembly
|
|
Operating Humidity
|
20%–85% RH (non-condensing)
|
Programmable Settings at a Glance
The W1209 features seven user-configurable parameters accessible through a simple long-press menu:
| Code | Setting | Range | Default |
|---|---|---|---|
|
P0
|
Heat / Cool Mode
|
H (Heat) / C (Cool)
|
H
|
|
P1
|
Hysteresis
|
1°C – 15°C
|
2°C
|
|
P2
|
Upper Temp Limit
|
—
|
110°C
|
|
P3
|
Lower Temp Limit
|
—
|
-50°C
|
|
P4
|
Temperature Correction Offset
|
-7°C to +7°C
|
0°C
|
|
P5
|
Relay Activation Delay
|
0 – 10 minutes
|
0 min
|
|
P6
|
High Temperature Alarm
|
—
|
OFF
|
Quick Start Guide
- Assemble the case: Snap the acrylic panels together around the W1209 board. No tools required — the pieces interlock securely.
- Connect power: Wire 12V DC to the power input terminals (+ and –), accessible through the case cutouts.
- Attach the sensor: Plug the NTC sensor probe into the 3-pin header on the board.
- Wire your load: Connect your heating or cooling device to the relay output terminals (K0 and K1). The relay acts as a simple on/off switch.
- Set your target temperature: Use the + and – buttons to set your desired temperature on the display.
- Configure mode: Long-press the SET button to enter the settings menu. Set P0 to H for heating or C for cooling.
- Done! The module will now automatically control your device to maintain the target temperature.
💡 Don't need the case? We also sell the W1209 12V without the case at a lower price point if you plan to integrate the bare board into your own enclosure.
📘 Full installation and programming instructions are available on our support page: W1209 Installation & Operating Instructions
Display Error Codes
| Code | Meaning |
|---|---|
|
LLL
|
Sensor disconnected or temperature below range
|
|
HHH
|
Temperature above measurable range
|
|
888
|
Sensor disconnected
|
|
---
|
Sensor short circuit
|
Pro Tips
- Extend sensor cable carefully: The NTC sensor cable can be extended up to ~5 meters using shielded wire without significant accuracy loss. Beyond that, consider using a shorter run or adding a pull-up resistor for signal integrity.
- Use with a relay module for higher loads: While the onboard relay handles up to 10A, for high-power devices (space heaters, large compressors), use the W1209 relay output to trigger a higher-rated external relay or contactor.
- Calibrate with P4: If your sensor reads slightly high or low compared to a reference thermometer, use the P4 temperature correction offset (±7°C) to fine-tune accuracy.
- Case ventilation: The acrylic case provides excellent protection while allowing adequate passive airflow. For high-ambient-temperature environments, ensure the case is not sealed inside a secondary enclosure without ventilation.
- Label your case: The smooth acrylic surface accepts adhesive labels or dry-erase markers well — handy for labeling setpoints or zones in multi-controller installations.
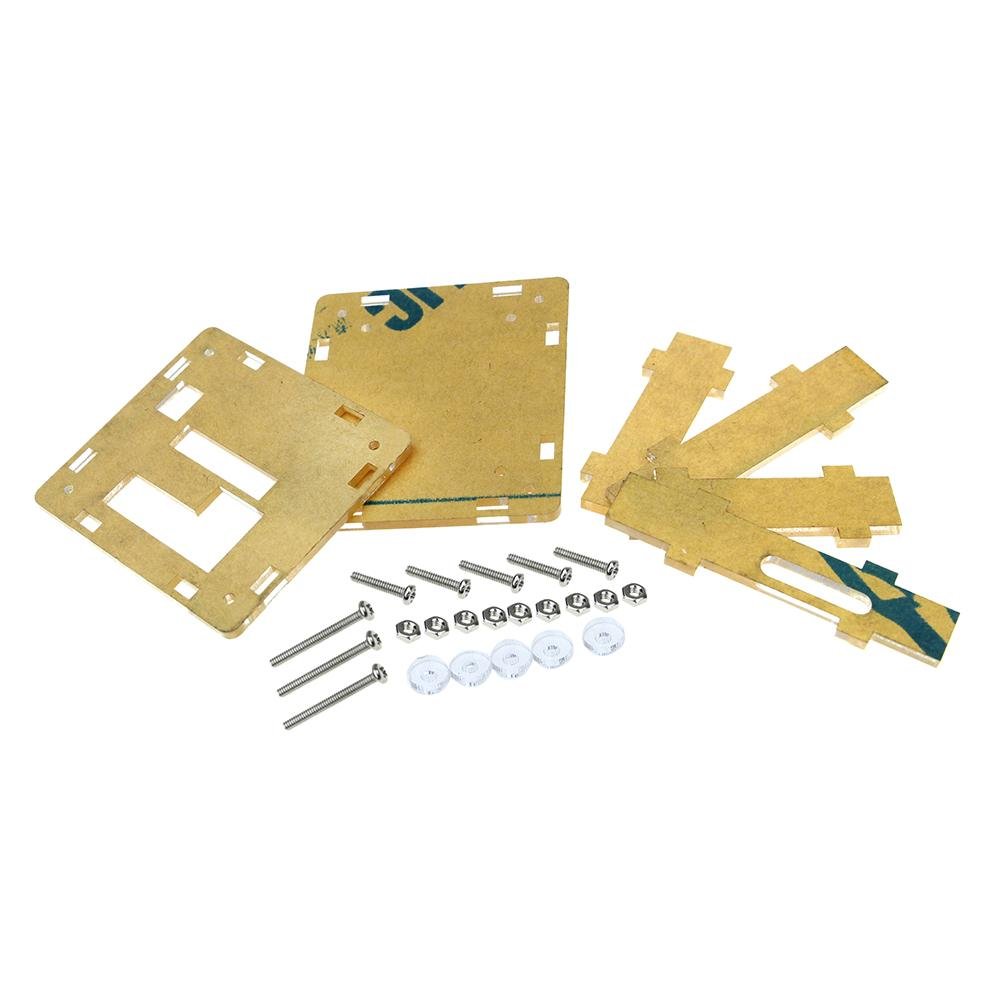
What's in the Box
- ✅ 1× W1209 12V Digital Thermostat Controller Board
- ✅ 1× Waterproof NTC Temperature Sensor Probe with 0.5M (~18 inch) cable
- ✅ 1× Clear Acrylic Enclosure (multi-piece)
Note: 12V DC power supply and load wiring are not included. A standard 12V DC adapter (minimum 1A recommended) is required for operation.
📄 Documentation & Resources
- W1209 Acrylic Case Assembly Instructions
- W1209 User Manual & Hookup Guide (English)
- W1209 User Manual & Hookup Guide (Español/Spanish)
- All Temperature Measurement & Control Guides
Need a longer probe? See our 1 Meter long NTC Thermistor Probe that can be used with the W1209.
Want a W1209 without the case: Click on this link to our W1209 without a case.
Share